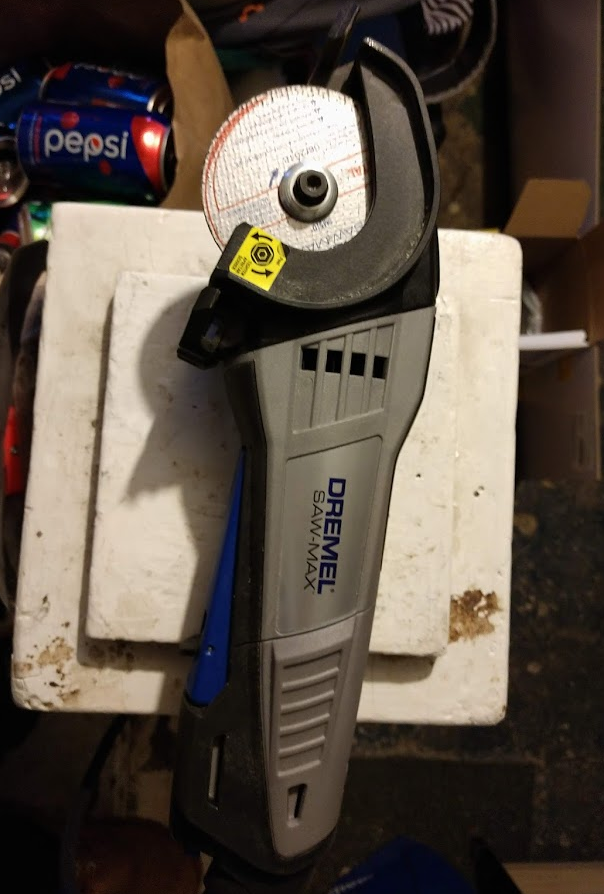
Chopping the Chassis required a little more than files and hand tools....luckily.....I had just the thing. After some quick measuring, I figured I needed to take off just about 1- 3/4" off the end of the chassis ...to make sure it fit without bumping the new front baffle.
...and I just happened to have a small Dremel cutter....
...and I just happened to have a small Dremel cutter....
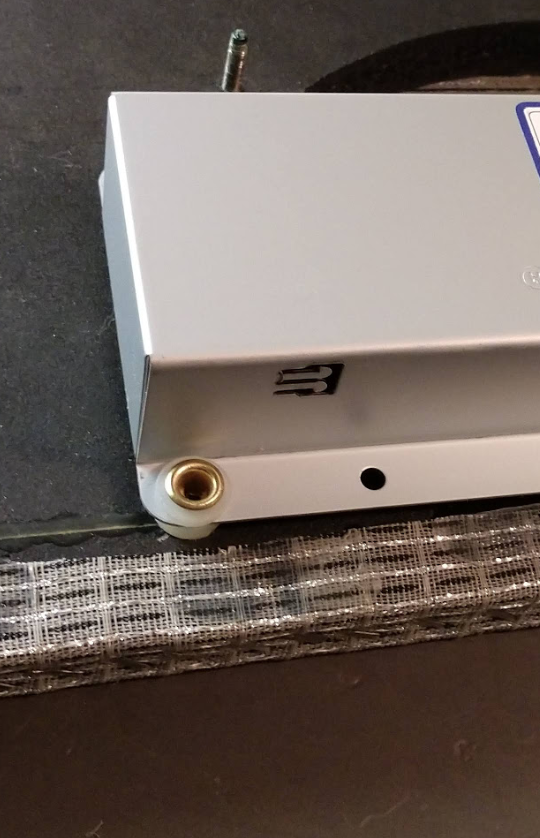
I simply clamped the chassis down, lined up a good straight edge where I wanted to cut....and made a good deep cut. I tried to not cut all the way through the steel, but just left a good cut that was deep enough to let me easily bend/snap the piece off....and it came off pretty clean. Just needed a little touch up work with a file to take off the jagged edges. Unfortunately...I did plunge through in a couple spots....
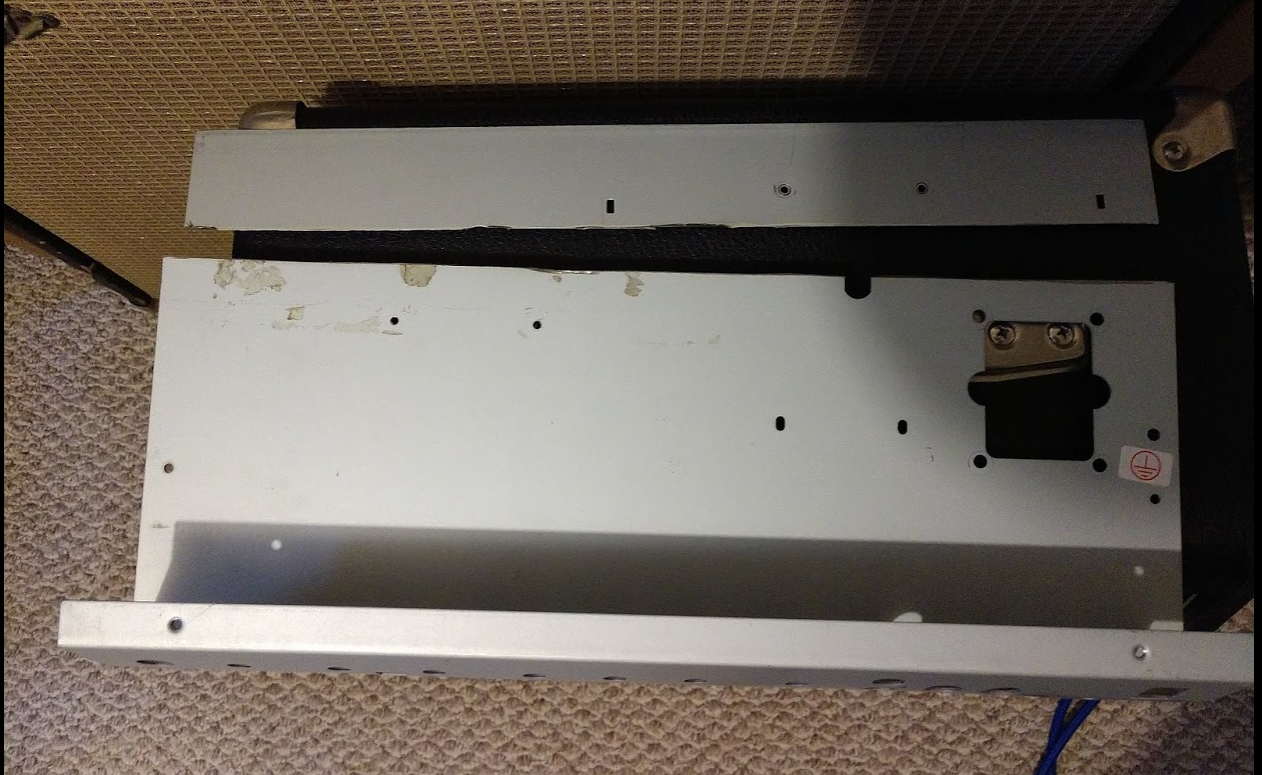
Not exactly the best cut....should have gone a little slower and taken my time.
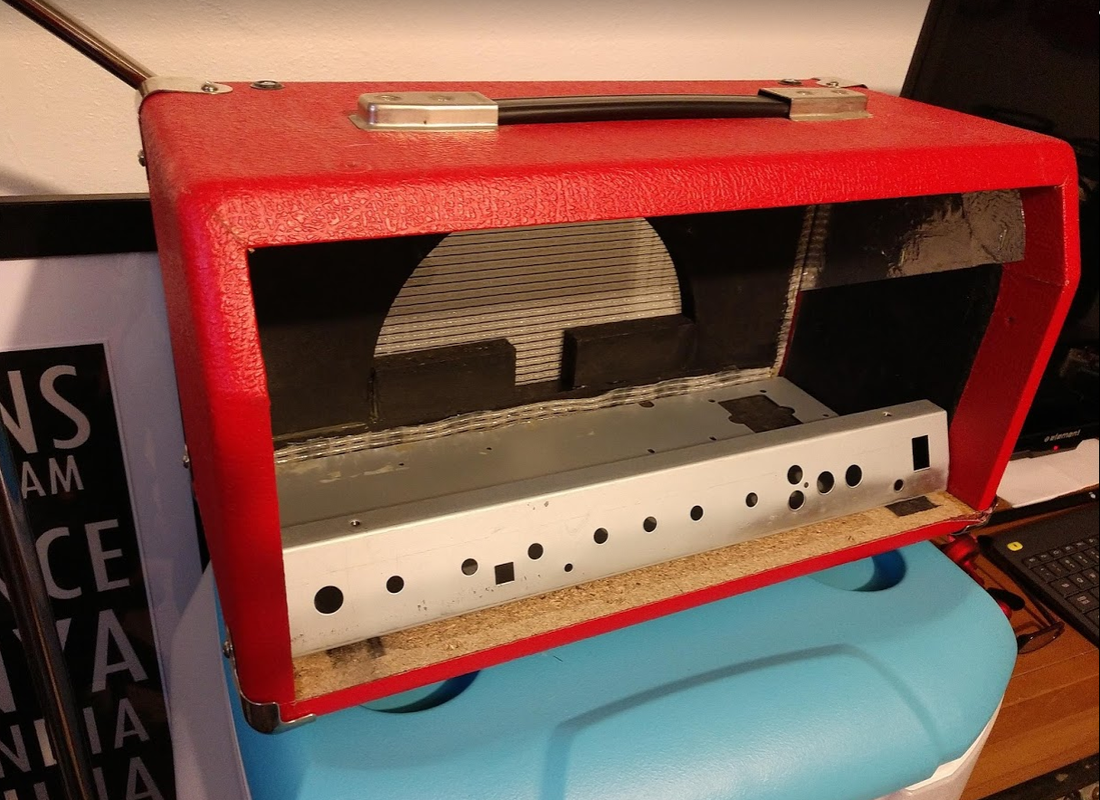
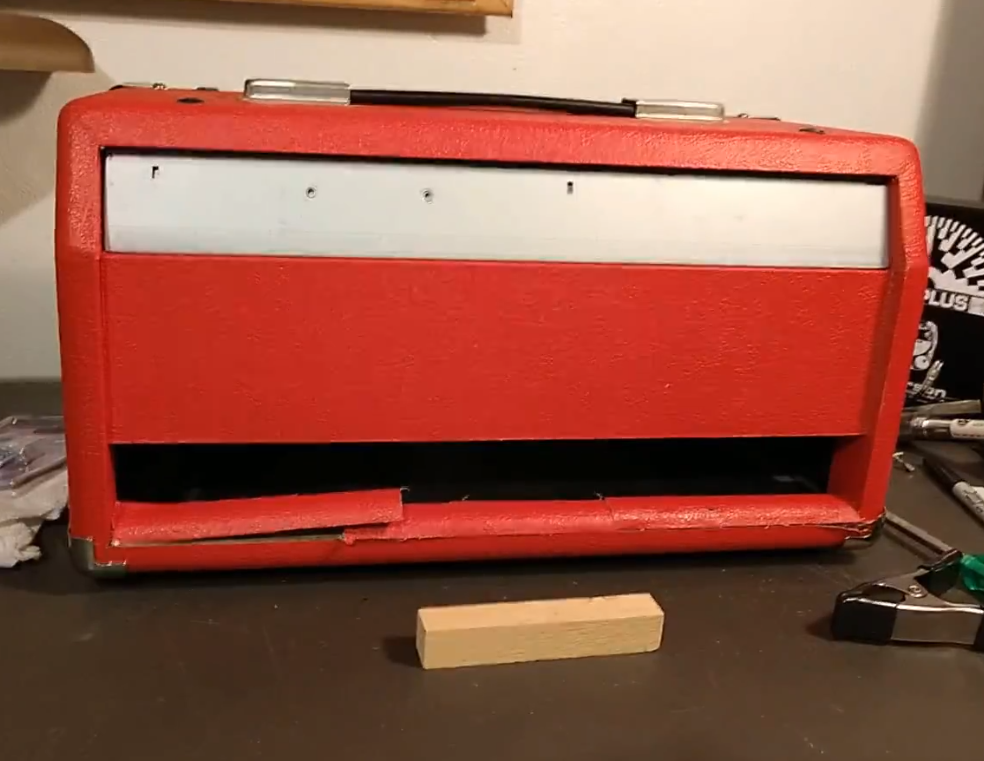
cut down chassis sitting in the cut down amp.
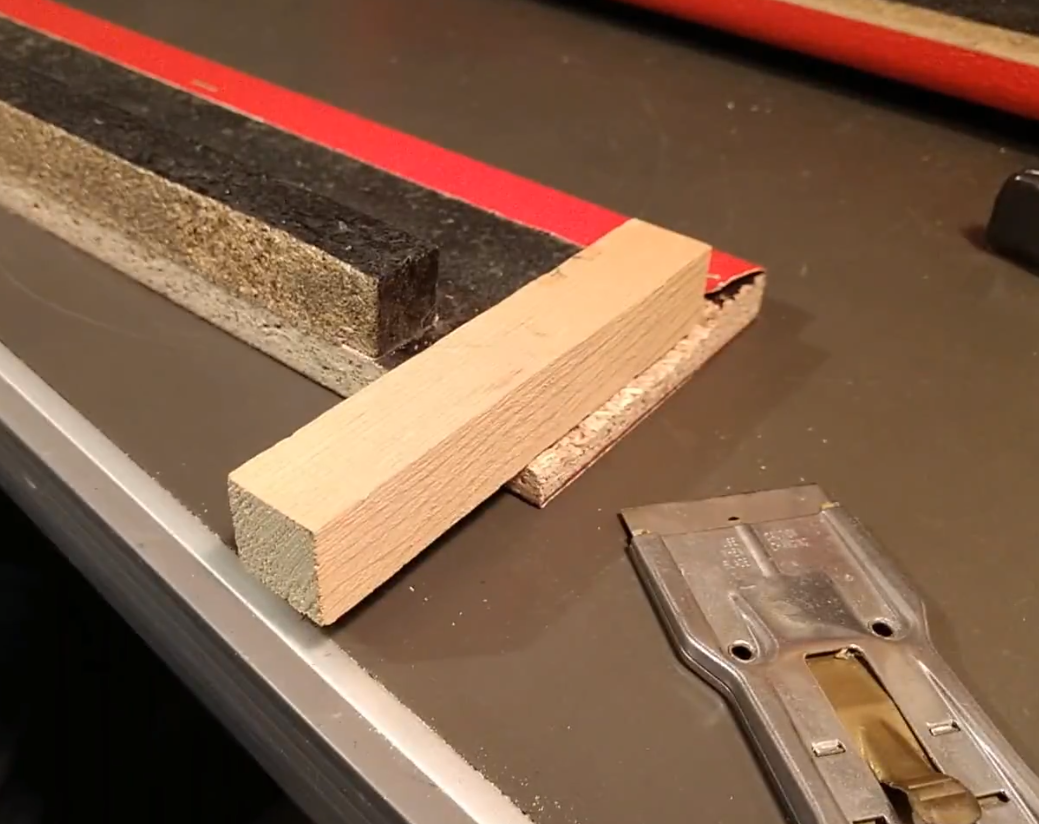
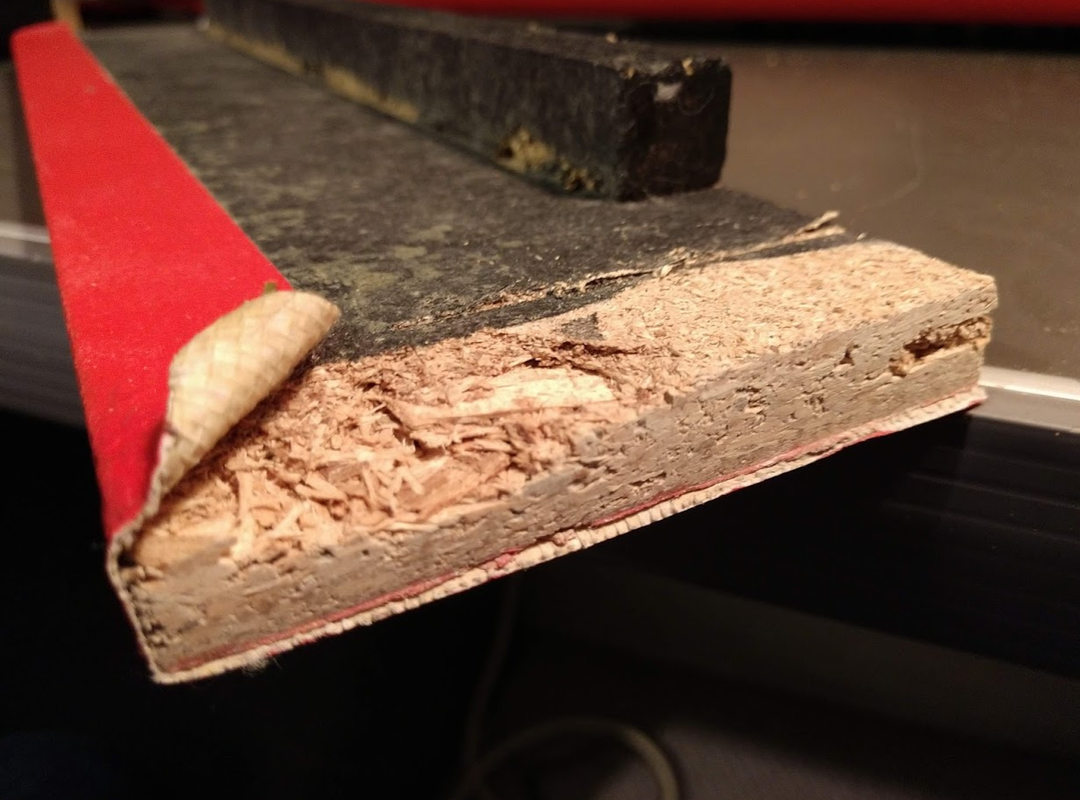
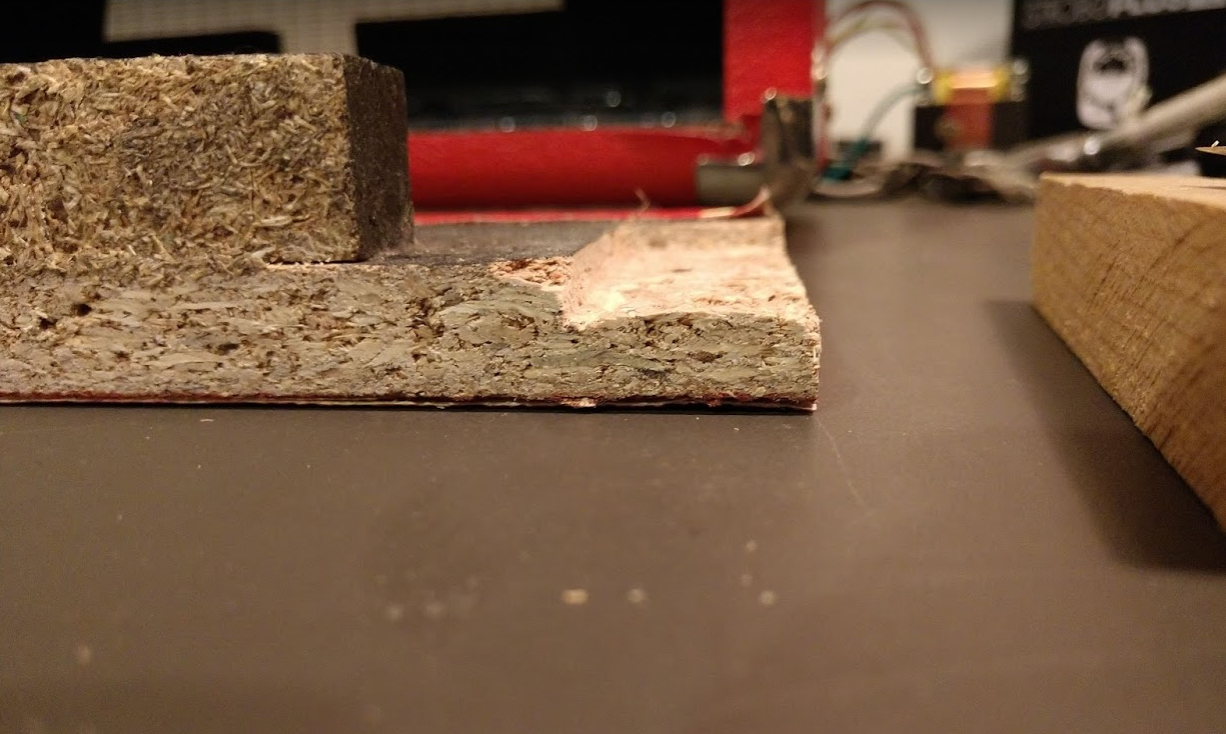
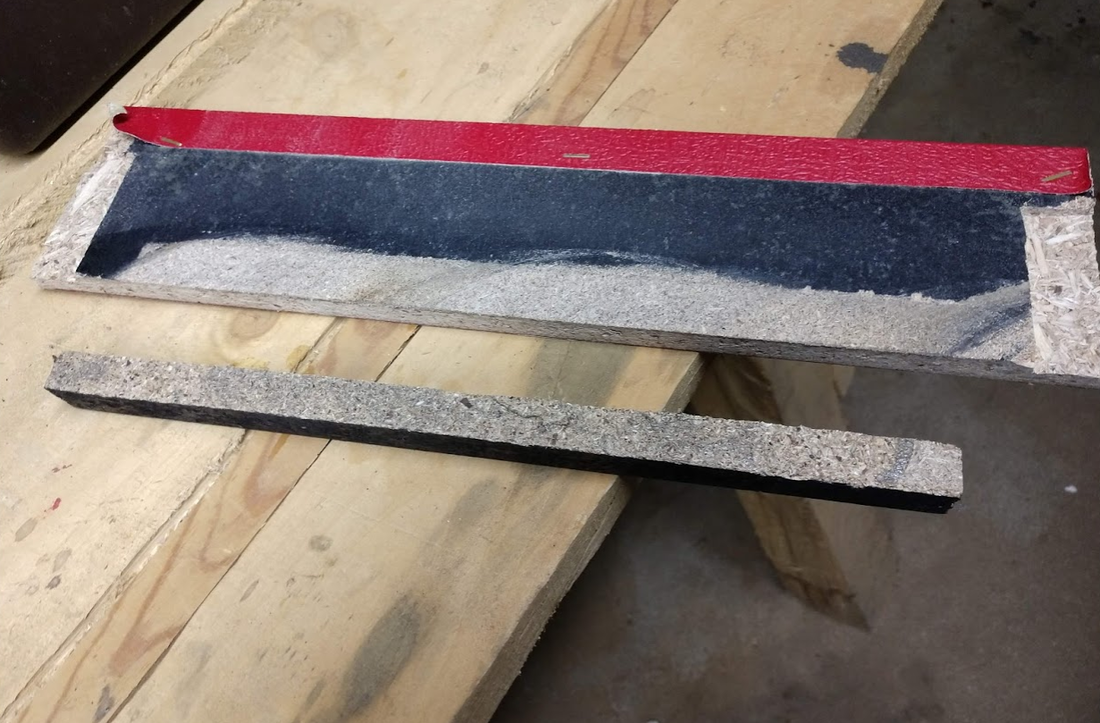
Once the chassis tray was cut, I cleaned up and added a couple cleats to the rear panel I pried off earlier.... I would up using a simple razor / glass scraper to make the cuts for the cleats to sit in ...the press-wood that the rear panel is made of was already chewed up pretty bad from me prying the panel off, and I needed to add some strength... thus the need for a couple cleats. Of course.....I messed up and had to go back and add another half-inch to the cleats.... (so much for the measure twice cut once thingie.....). Below are just a few pictures of the process.....
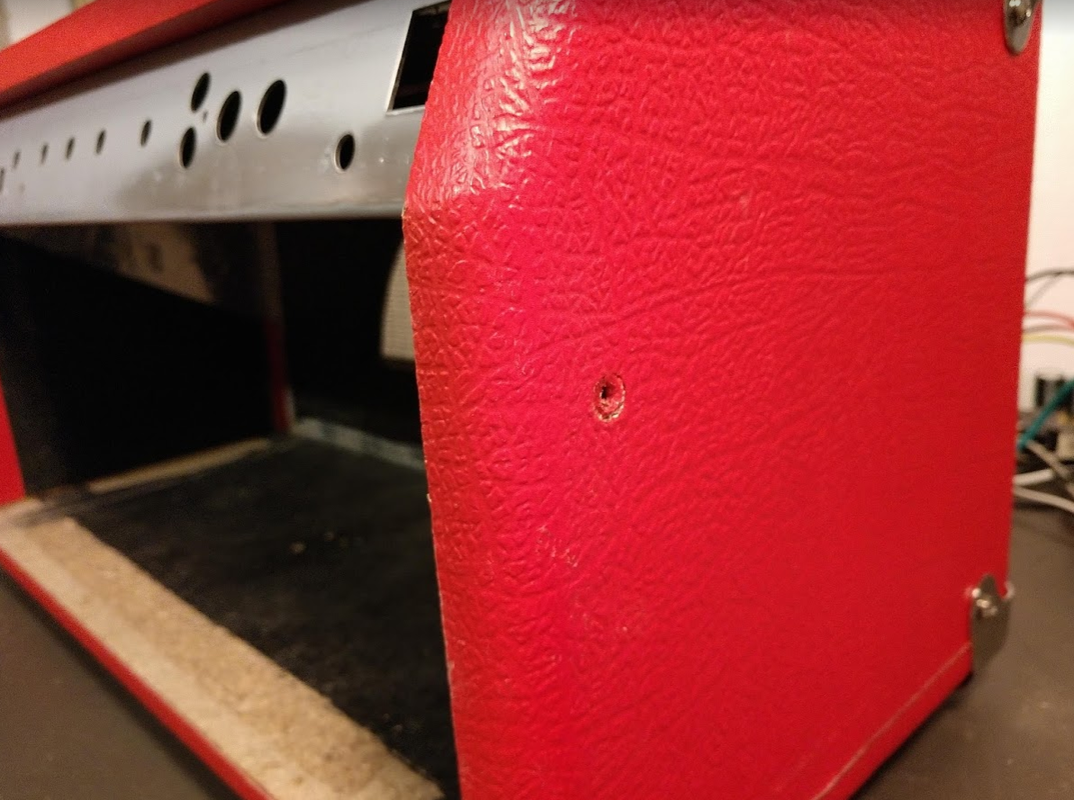

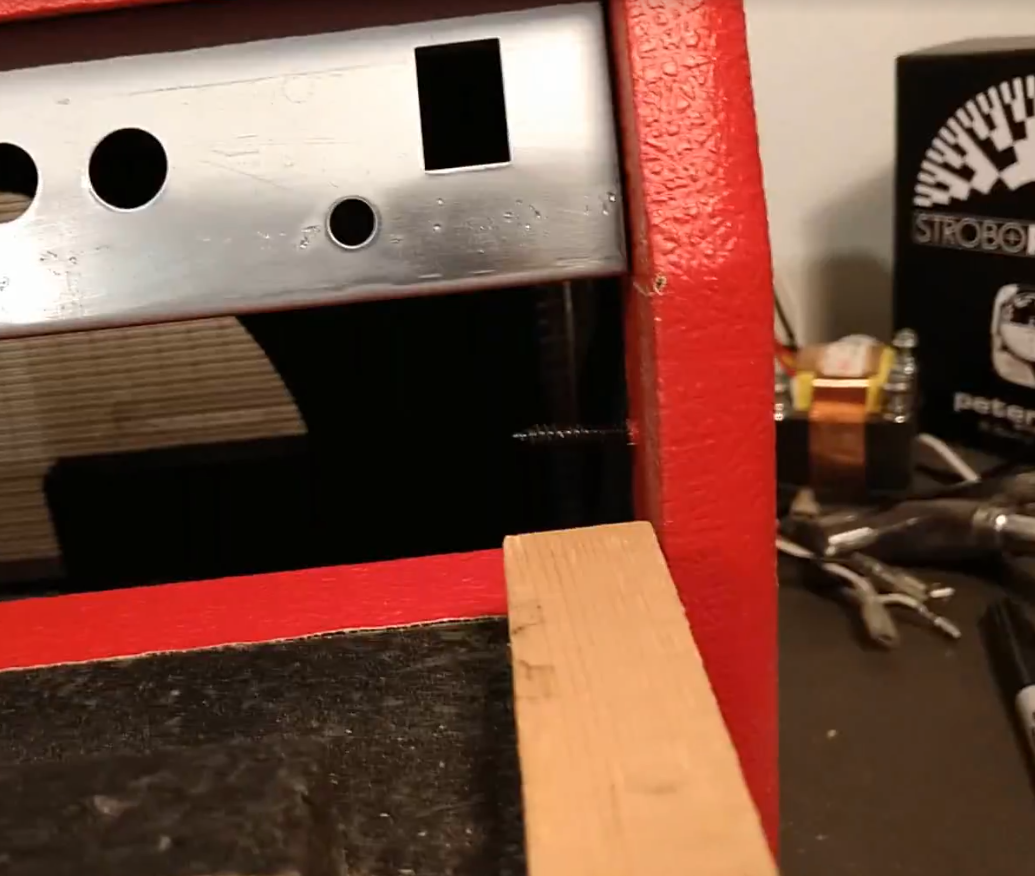
I did manage to use the existing hole (where the FM25 front baffle use to be...) to screw the rear panel on. I wound up drilling a second hole (on each side) to add another screw. The 2nd screw is to keep the rear panel from spinning.
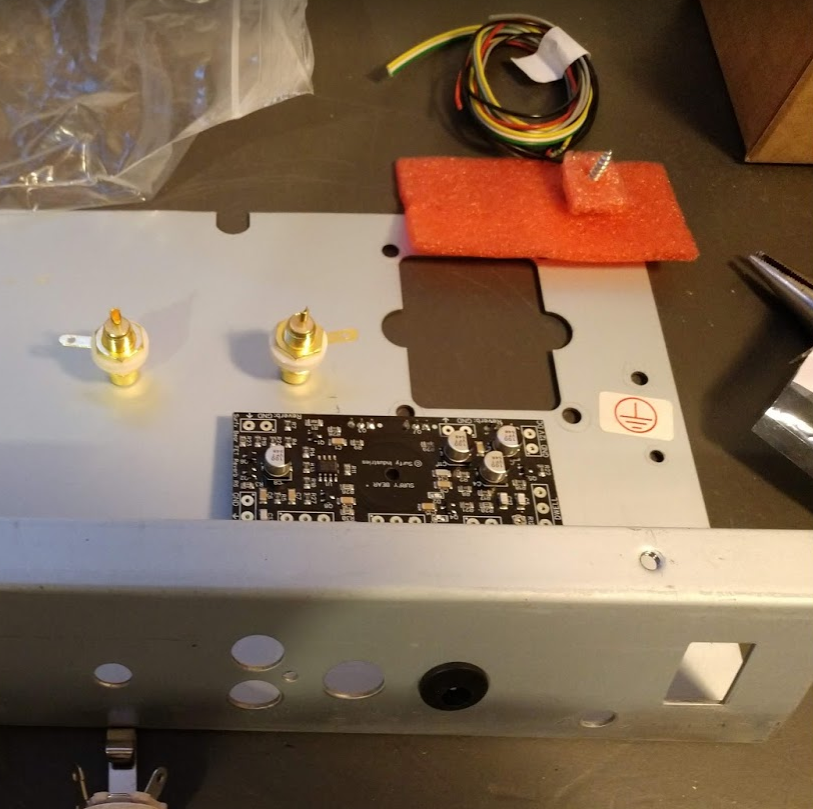
I finally got around to ordering the actual reverb tank and a power supply for the SurfeyBear reverb kit (board)....decided to just order them from the SurfyBear people, that way I definitely got the "recommended" equipment.
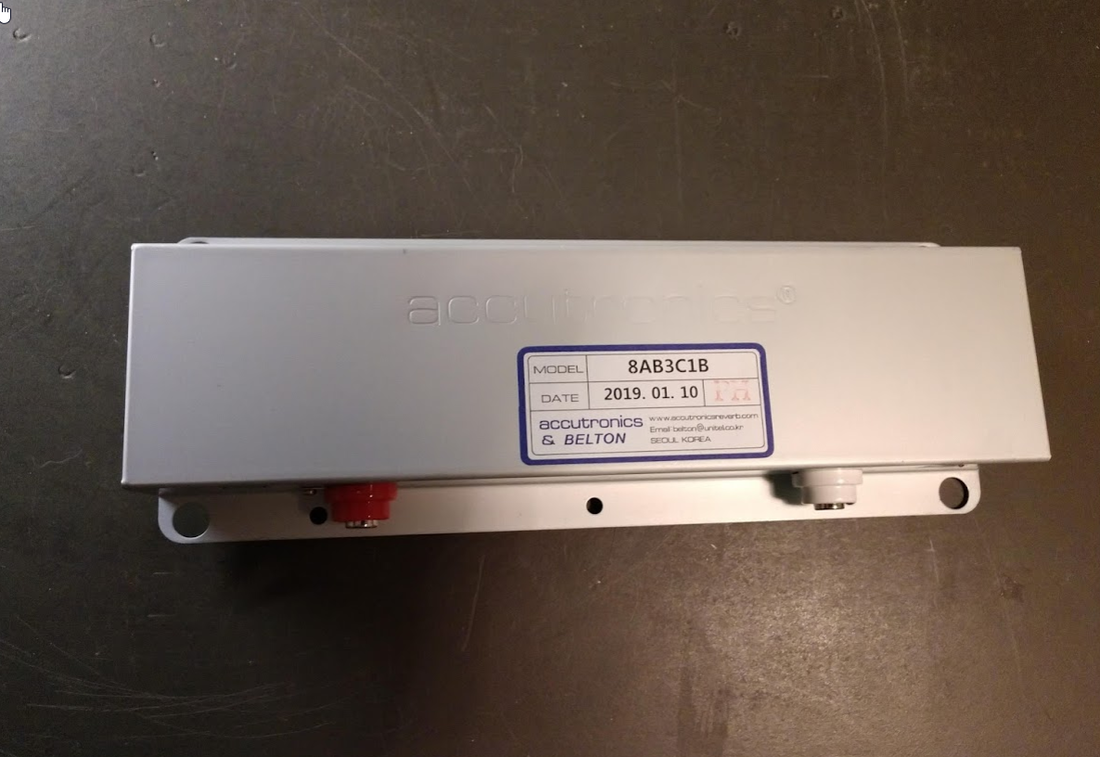

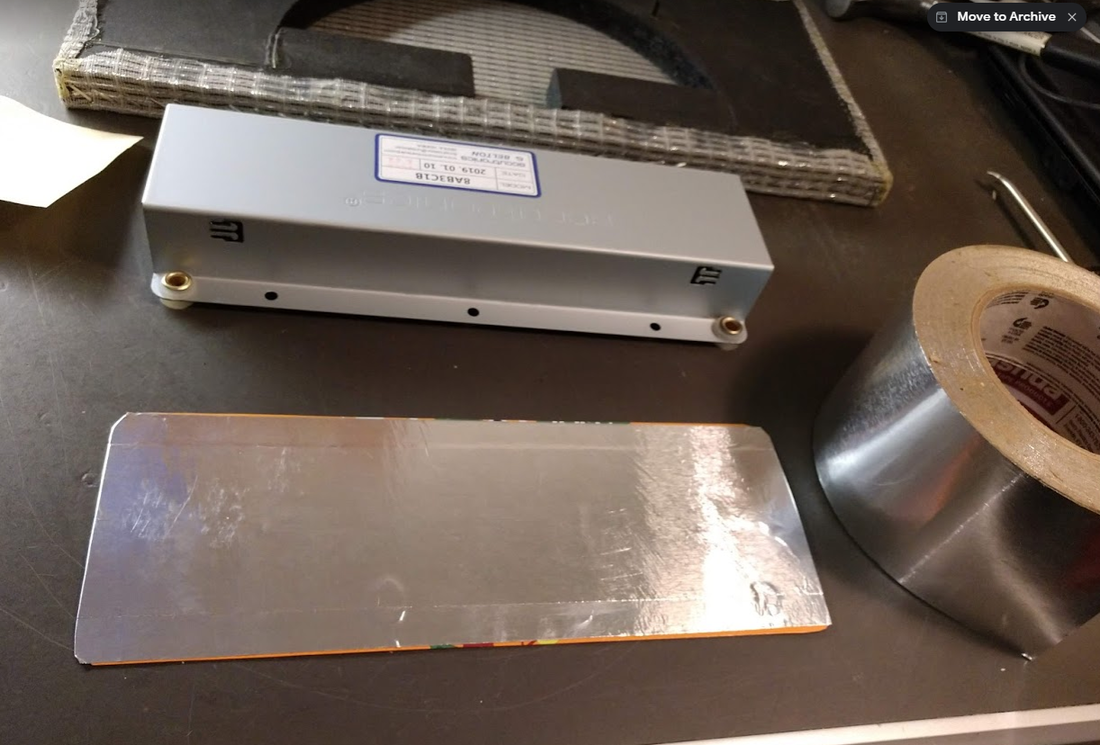
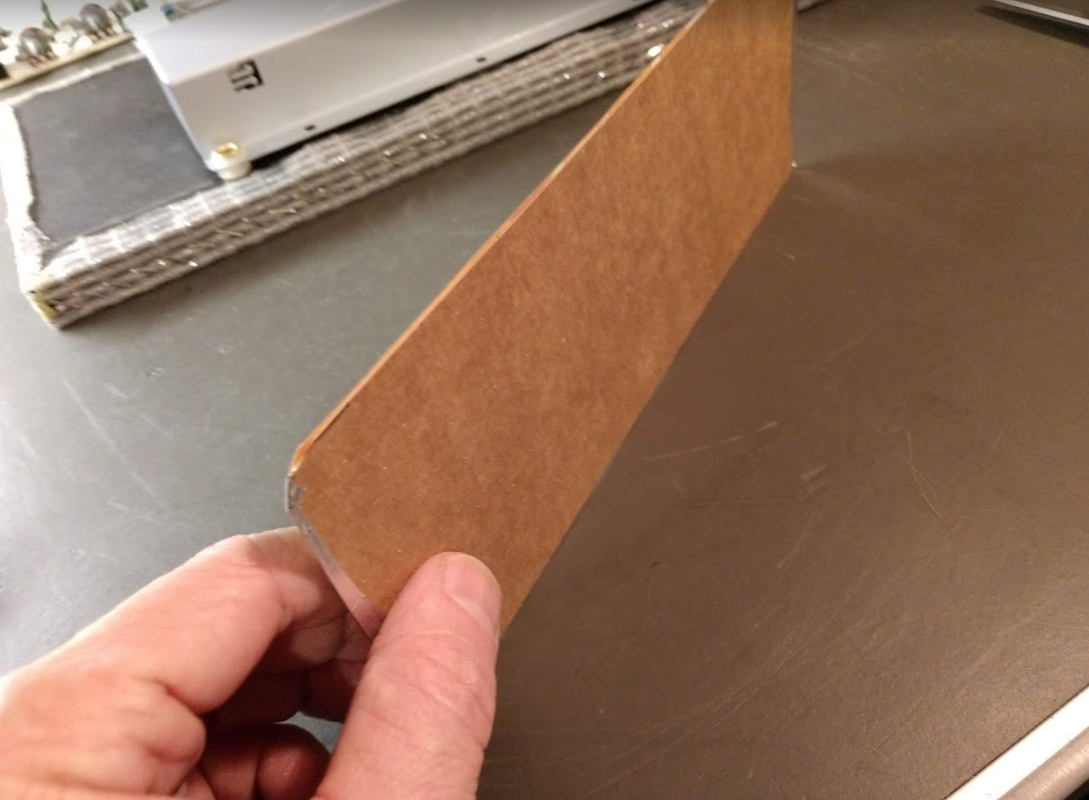
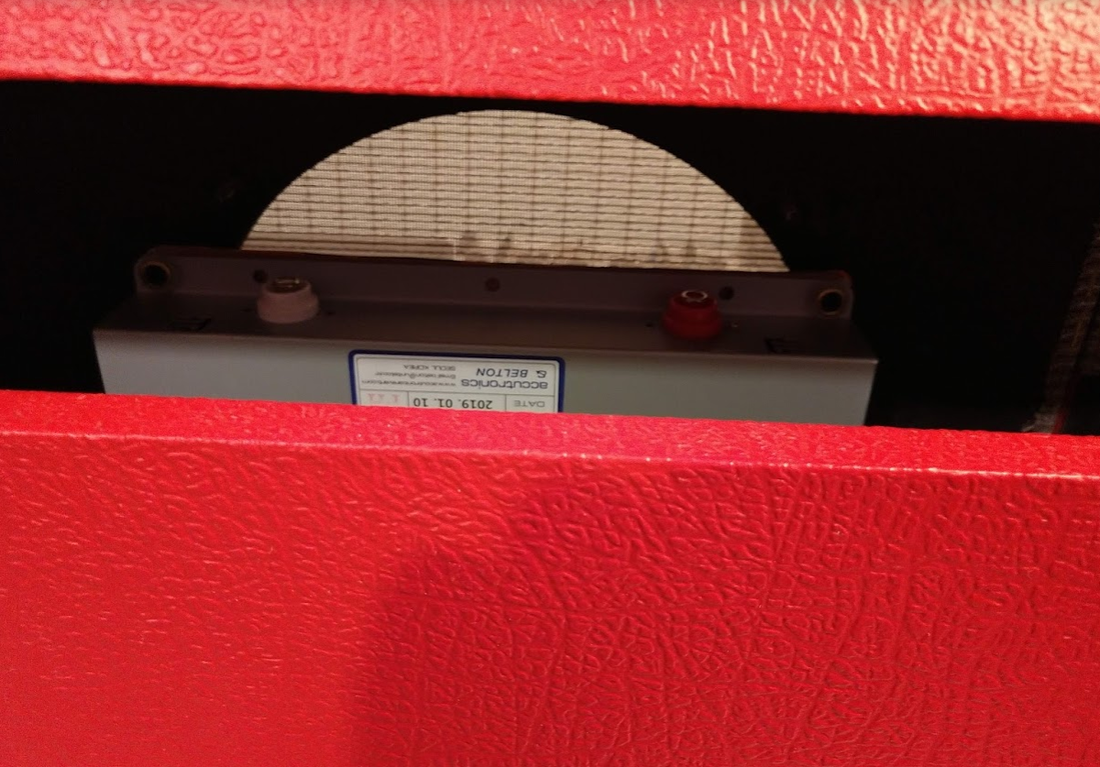
The above pictures show how and where I mounted the reverb tank.... before I mounted it I made a cover for the "open" side of the tank. I decided to use two thin pieces of cardboard and sandwich some metal tape between the two pieces. hopefully this will provide a little shielding for the springs inside the reverb tank. I painted one side of the cardboard-shielding-sandwich flat black, and put that side facing outwards. I also had to dig around and find an old reverb tank so that I could steal the rubber grommet / feet off it. The Surfybear tank didn't come with feet ......
The cabinet is getting pretty close to being finished, and I have chassis cut and the tank mounted. Just about time to start some electronic stuff....but first I should probably figure out exactly how I'm going to lay things out.
Initially I was going to put the Surfybear FET reverb and a RickTone Trem and overdrive in this chassis.....but.....it took me WAY longer to get the cabinet and chassis work done than I thought it would. I was thinking a couple of weekends.....instead it was a couple of seasons. I started this in the summer...and it is well into winter now. So in the interest of just "gettin' 'er done" I decided to scale back and just go with the SurfyBear. Hopefully I can knock that out this winter. Since I'm just building the SurfyBear, i changed my layout quite a bit, and tried to simplify and yet keep somewhat true to the original Fender Reverb layout.
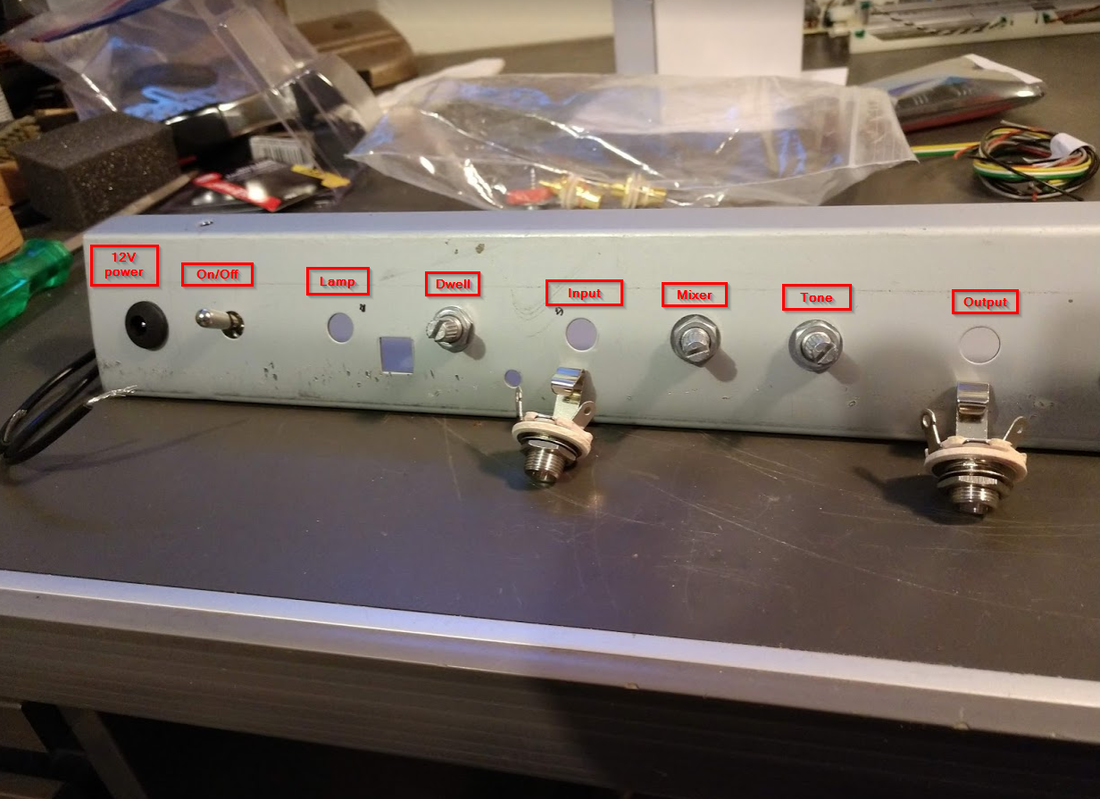
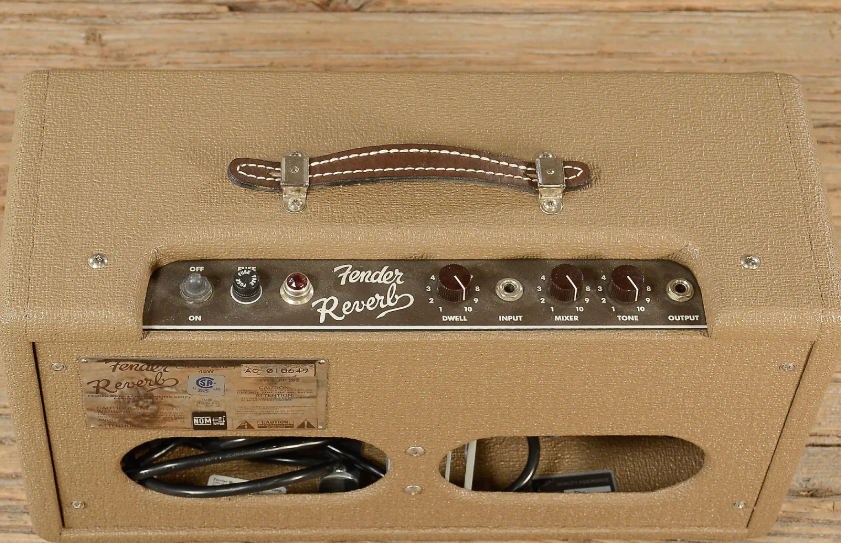
Using this setup , I only need to drill-out (expand) 4 holes. The "on/off", "Lamp", "Input" and "Output". I will then need to drill probably 3 more inside the chassis tray. 2 for the RCA jacks, and 1 to mount the SurfyBear board.