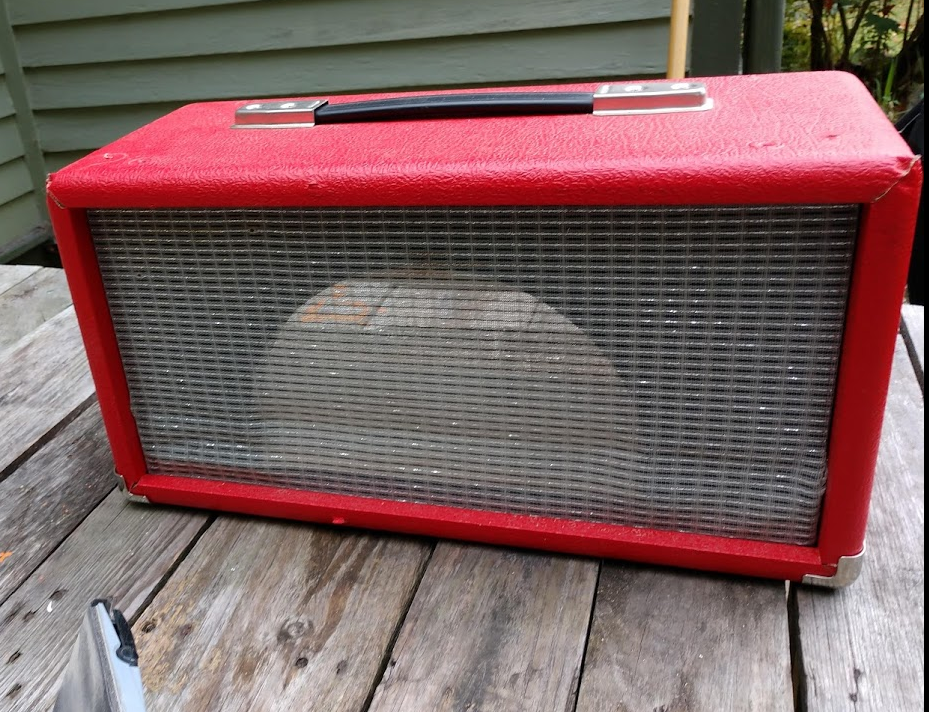
Chopping the 25R cabinet.
So the idea here, is to just chop the sides of the cabinet and lower it's overall height.
But.
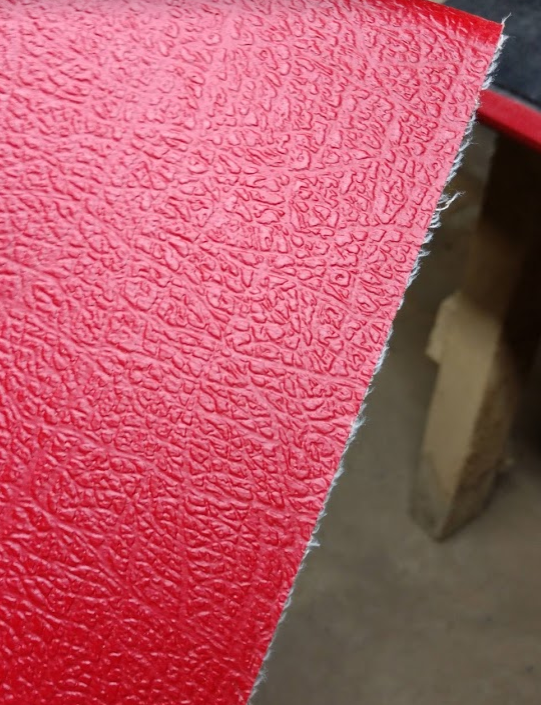
I also want to keep (and possibly reuse) as much of the material as possible. So after mulling over various options, I decided the easiest way to do this was to just chop the bottom off. Since my previous adventure revealed where the brads/staples are located, and the correct way to make the cuts to avoid them, it should be pretty straight forward. I am going to have to make some visible cuts in the tolex....just no reasonable way to avoid it. My table saw is a small mobile one...stored under a table and buried under a pile of crap. Luckily.....I know where there is another one I can use.... It's older than dirt...but it still runs fine !
But.
I also want to keep (and possibly reuse) as much of the material as possible. So after mulling over various options, I decided the easiest way to do this was to just chop the bottom off. Since my previous adventure revealed where the brads/staples are located, and the correct way to make the cuts to avoid them, it should be pretty straight forward. I am going to have to make some visible cuts in the tolex....just no reasonable way to avoid it. My table saw is a small mobile one...stored under a table and buried under a pile of crap. Luckily.....I know where there is another one I can use.... It's older than dirt...but it still runs fine !
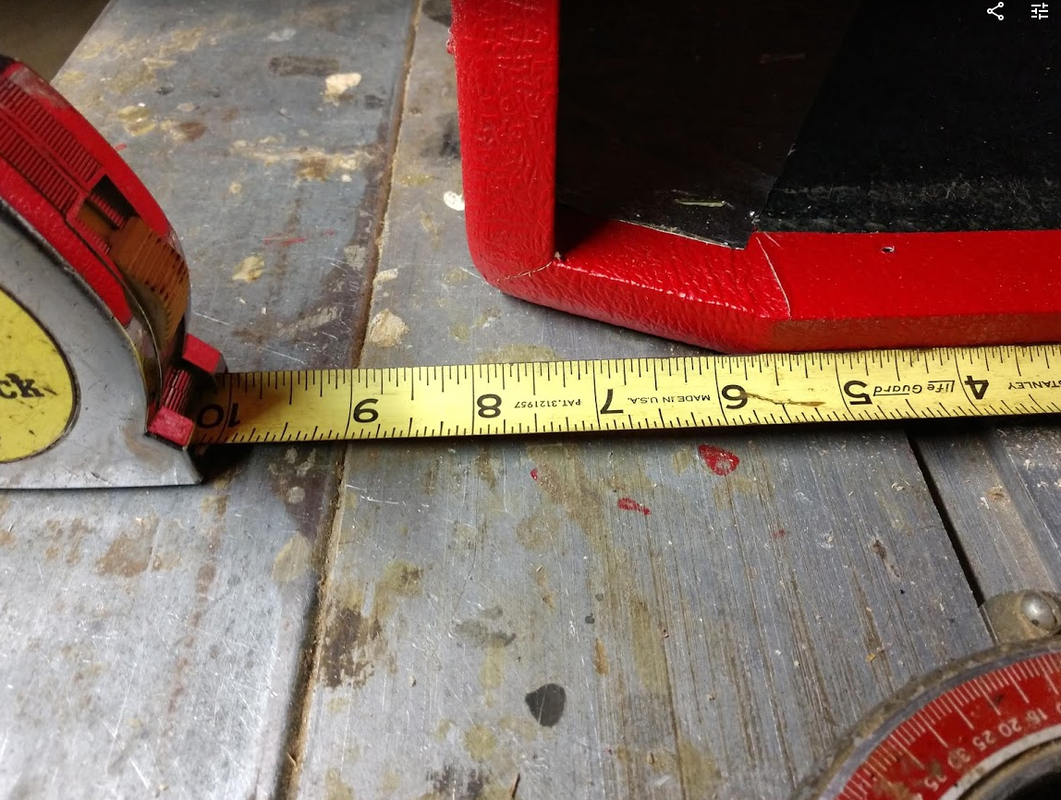
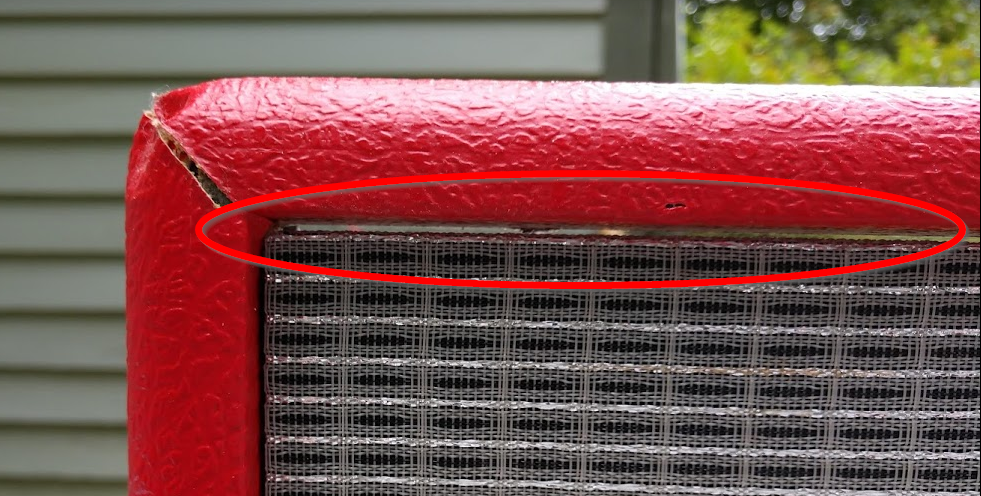
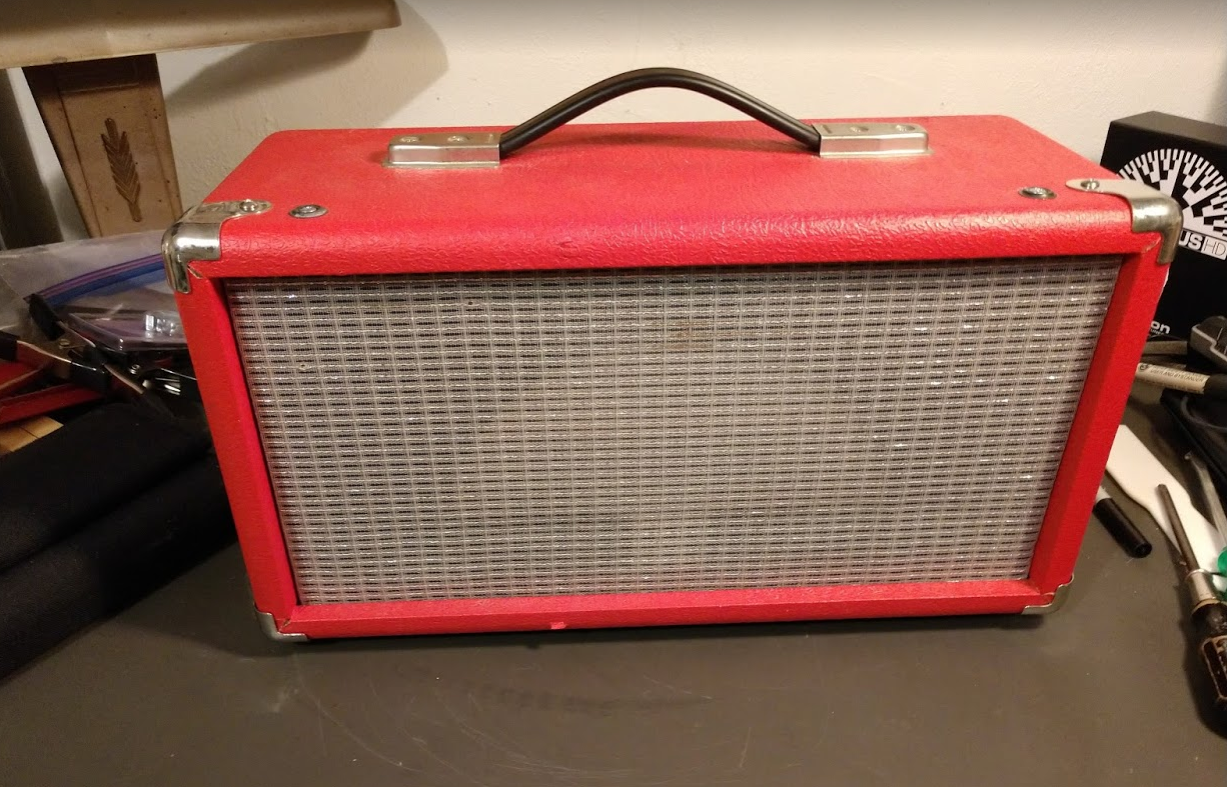
...a few shots of work on the table saw.....unfortunately....not the best / cleanest cuts....but......overall I'm pretty happy with the results. I think I'm definitely getting in the same vibe / ballpark as the original ....(or reissues as the case may be...). Not sure exactly how I'm going to hide / clean up the cuts....keeping my eyes open for something to cover them...
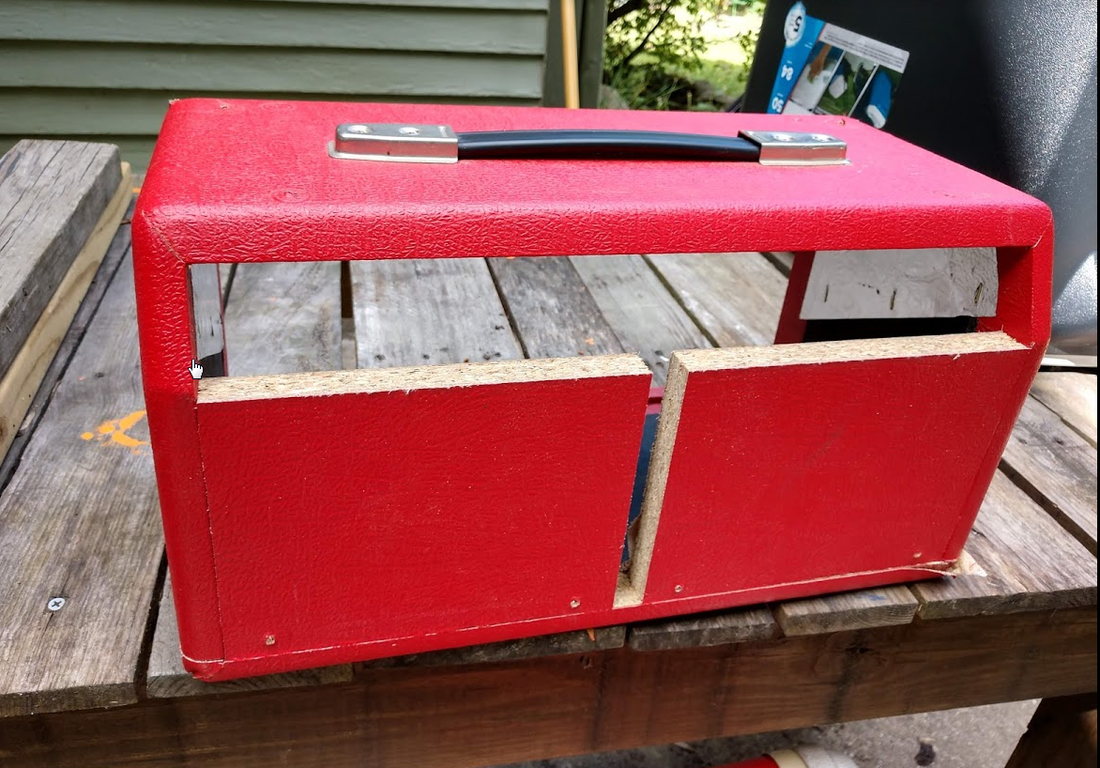
I squared up the sides that I cut......and they are damn close to being a perfect fit for the back of the unit.....another 1/4 inch and they would have would have been perfect.
Damn.
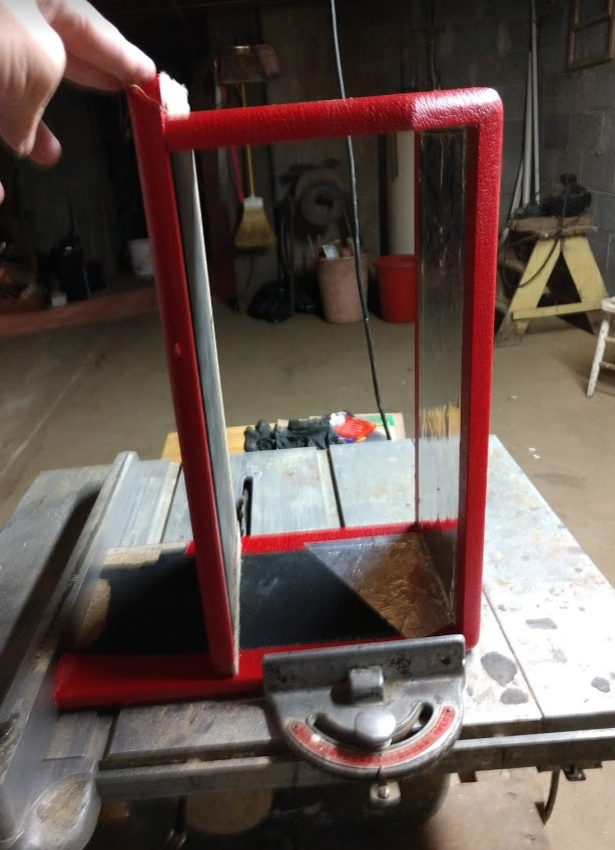
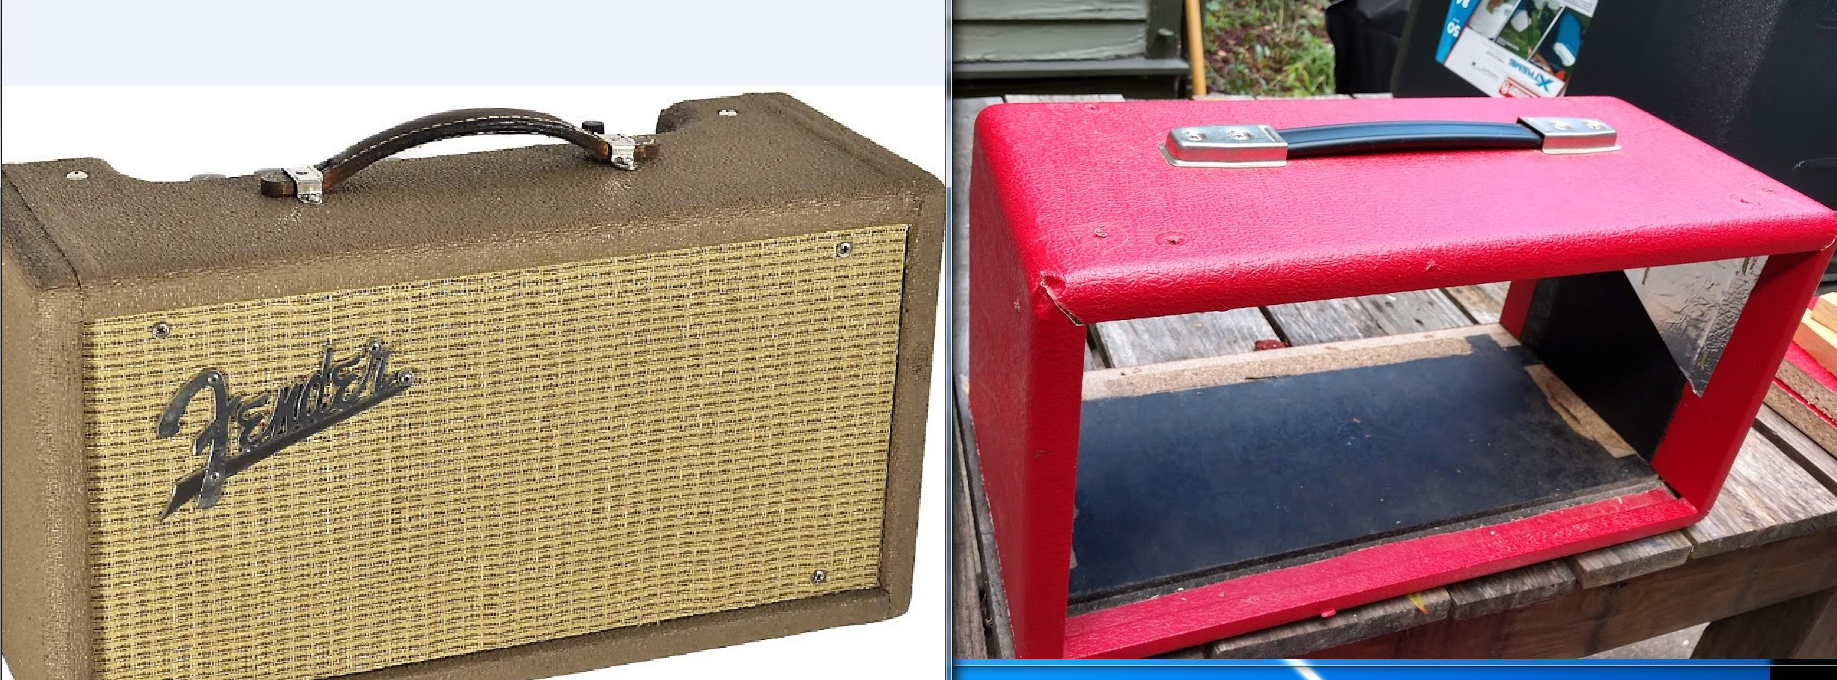
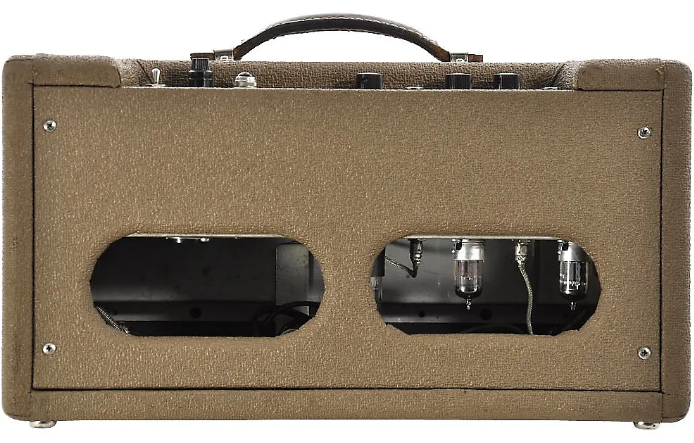
No way I'm going to be able to make it a pretty as the Fender tank......but...I'm also going to have a little more going on, so I'm not going to have those nice clean lines. No "undo button" with a table saw.....I guess I go with what I got.
Damn.
No way I'm going to be able to make it a pretty as the Fender tank......but...I'm also going to have a little more going on, so I'm not going to have those nice clean lines. No "undo button" with a table saw.....I guess I go with what I got.
Hummmmmm.......maybe using some of the other left over bits and pieces I can fake it ????
This is going to require some thought......maybe I'll just work on getting the cabinet squared and glued.....I already know what I want to do for the "front" of the cabinet. Maybe by the time I get that all done, the answer for the rear will fall into place.
This is going to require some thought......maybe I'll just work on getting the cabinet squared and glued.....I already know what I want to do for the "front" of the cabinet. Maybe by the time I get that all done, the answer for the rear will fall into place.
Putting it back together
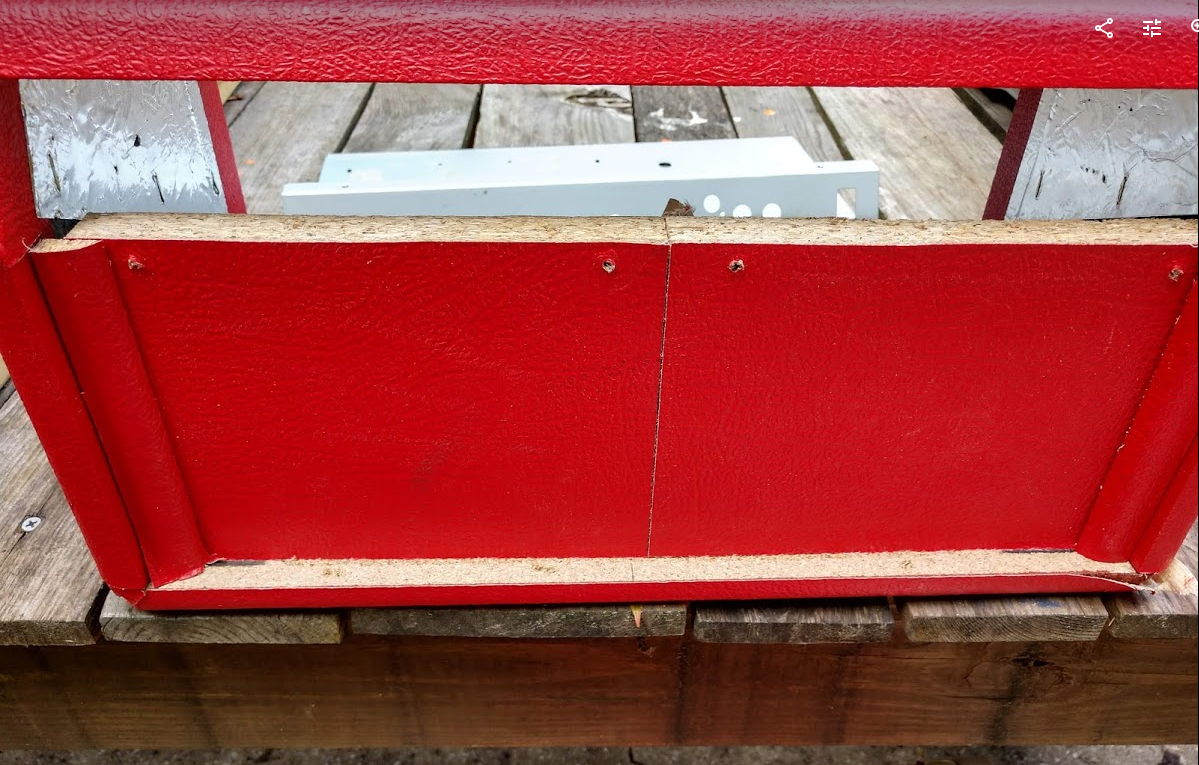
After several dry fits, and much thinking about how exactly I wanted the top / bottom to be attached back together..... I decided that I had a plan.....so then I glued....
After several dry fits, and much thinking about how exactly I wanted the top / bottom to be attached back together..... I decided that I had a plan.....so then I glued....


Lined it up as-best-I-could then glued and clamped...after the clamps were on, and it was square, I went back to the inside and used a small artist brush to work as much glue as I could into the seam / crack. I also put the corner protectors back on to give some added stability as the glue hardened.
After a couple days of drying time.....I decided the next thing I should probably do is the "front" of the case.
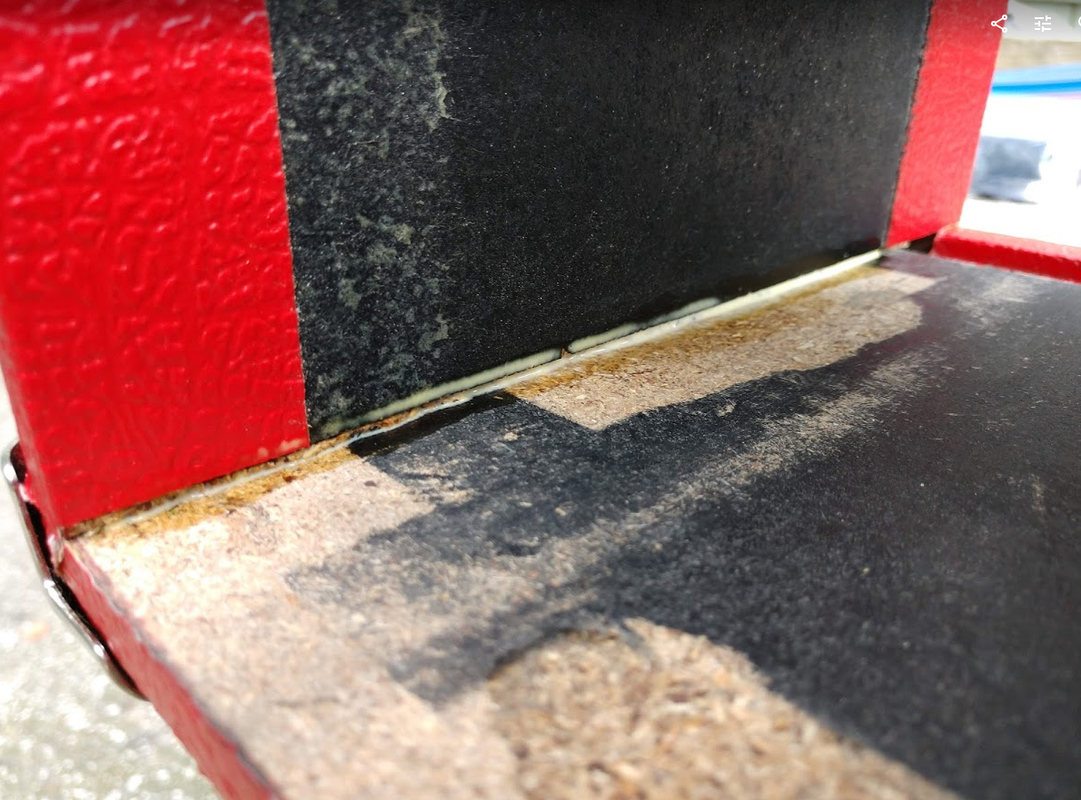
In order to help give the front of the device a "clean" look (like the originals) I rotated the cabinet bottom 180 degrees before I glued it back on. This gave me a lip on the front of the case to hold the front panel, and also gave me a nice clean edge to work with.
In order to help give the front of the device a "clean" look (like the originals) I rotated the cabinet bottom 180 degrees before I glued it back on. This gave me a lip on the front of the case to hold the front panel, and also gave me a nice clean edge to work with.
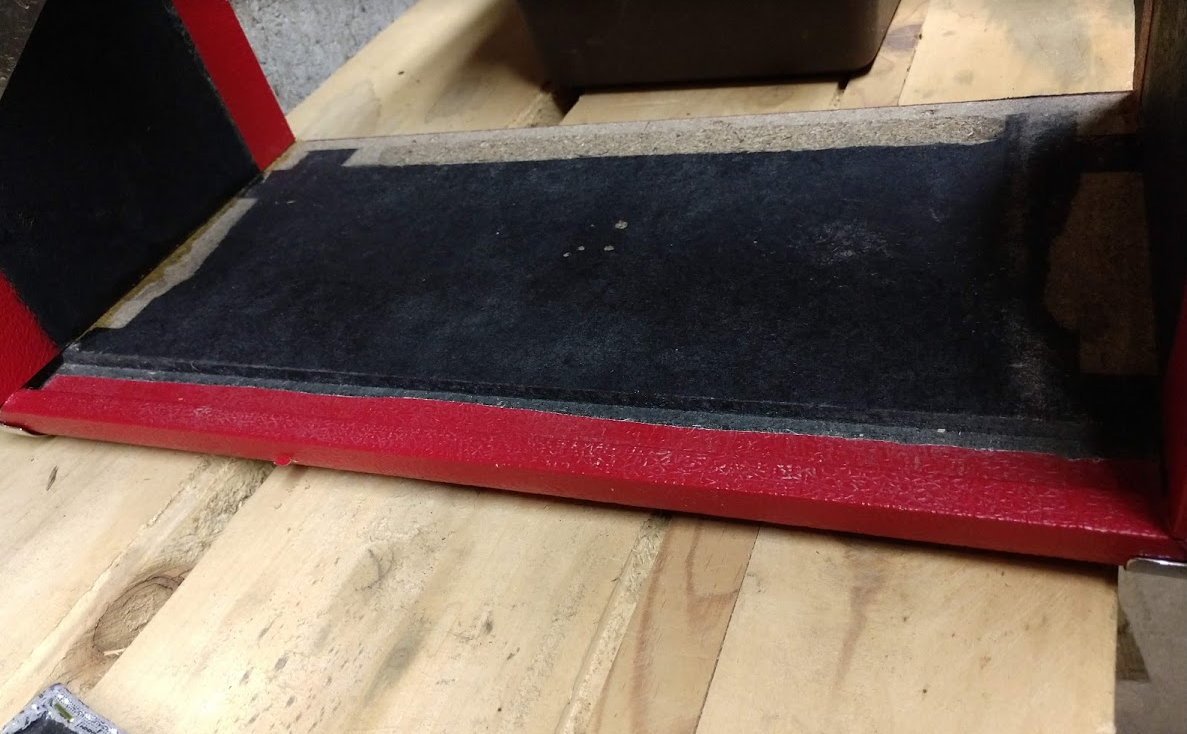
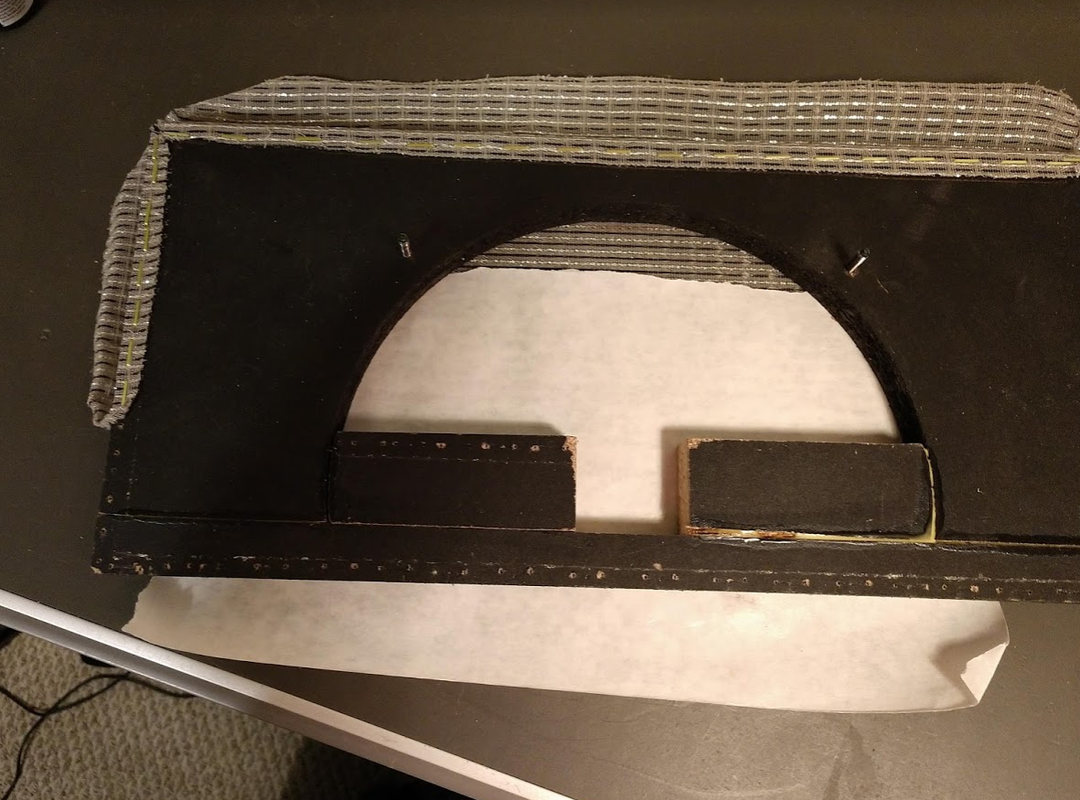
I just needed to cut down the existing speaker baffle, so that the bottom edge would drop right into the lip and then top could be pushed/rolled in until the top sat at the correct depth.
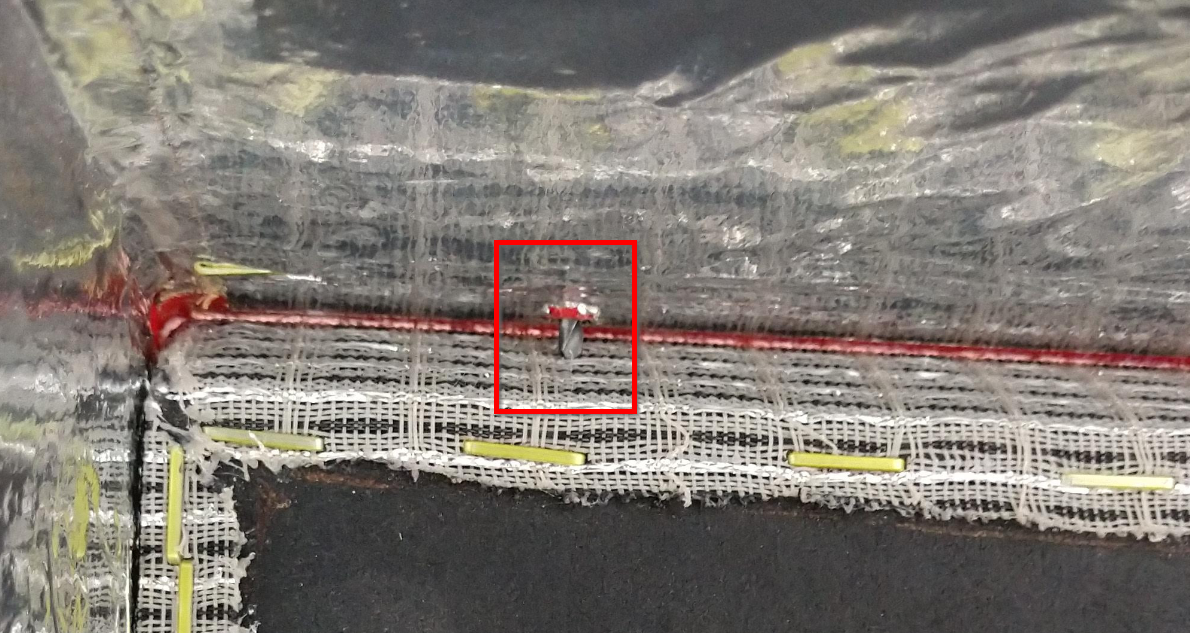
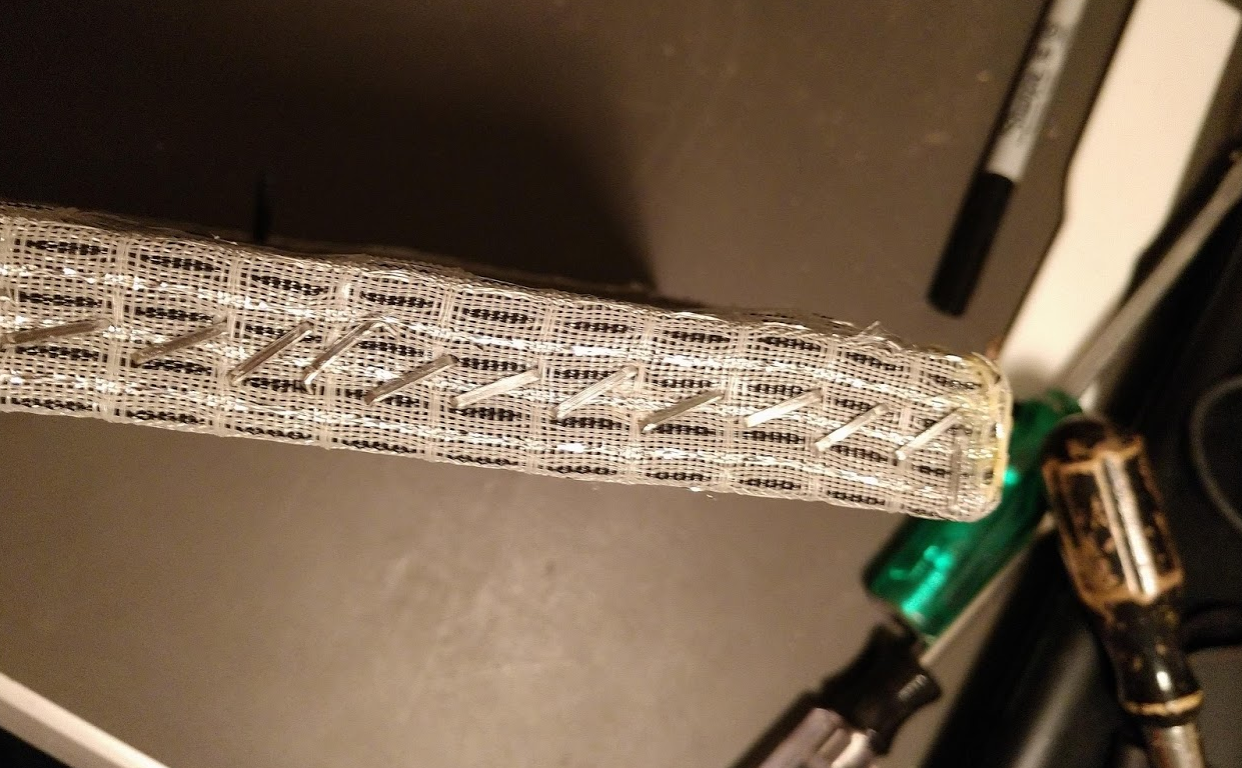
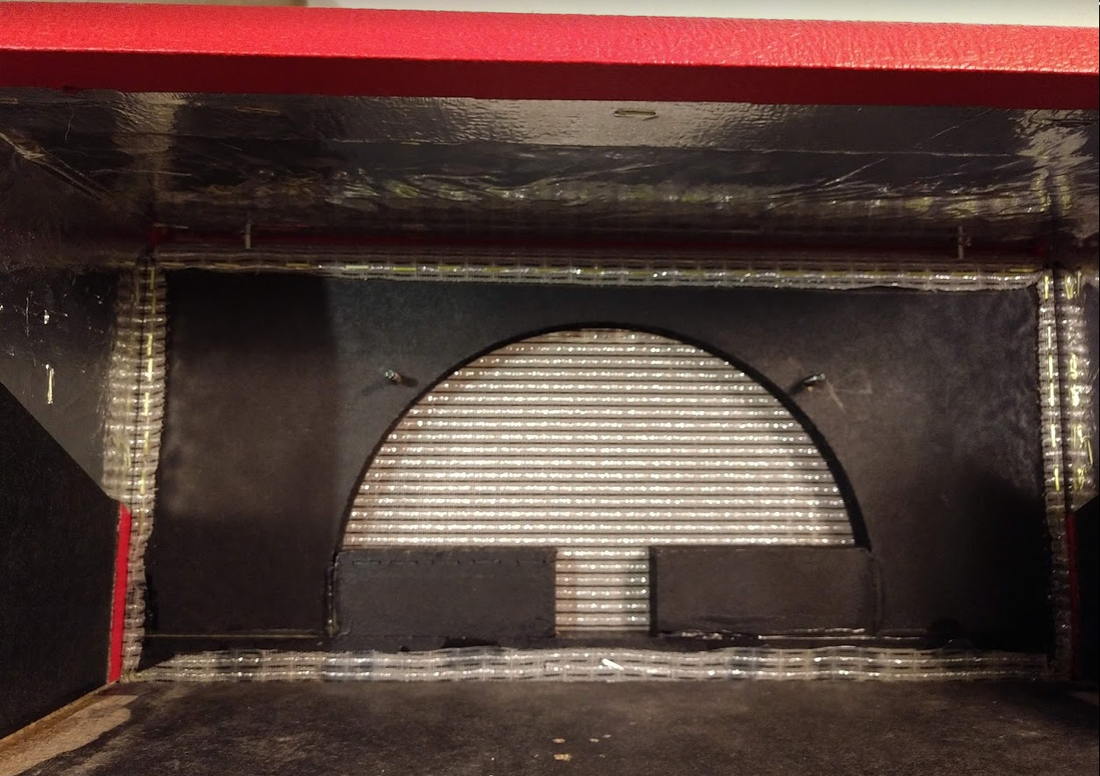
you can see in this photo that the grill cloth has a bevel along the top edge, and is flat across the bottom.
First thing I did was remove the staples from the bottom edge and about 1/2 way up the left and right sides....so I could fold the grill cloth back out of the way.
Now that I had access to (some of) the front of the baffle, I tapped and pulled the bottom two speaker screws(to get them out of the way while I made a couple cuts.)
Now that I had access to (some of) the front of the baffle, I tapped and pulled the bottom two speaker screws(to get them out of the way while I made a couple cuts.)
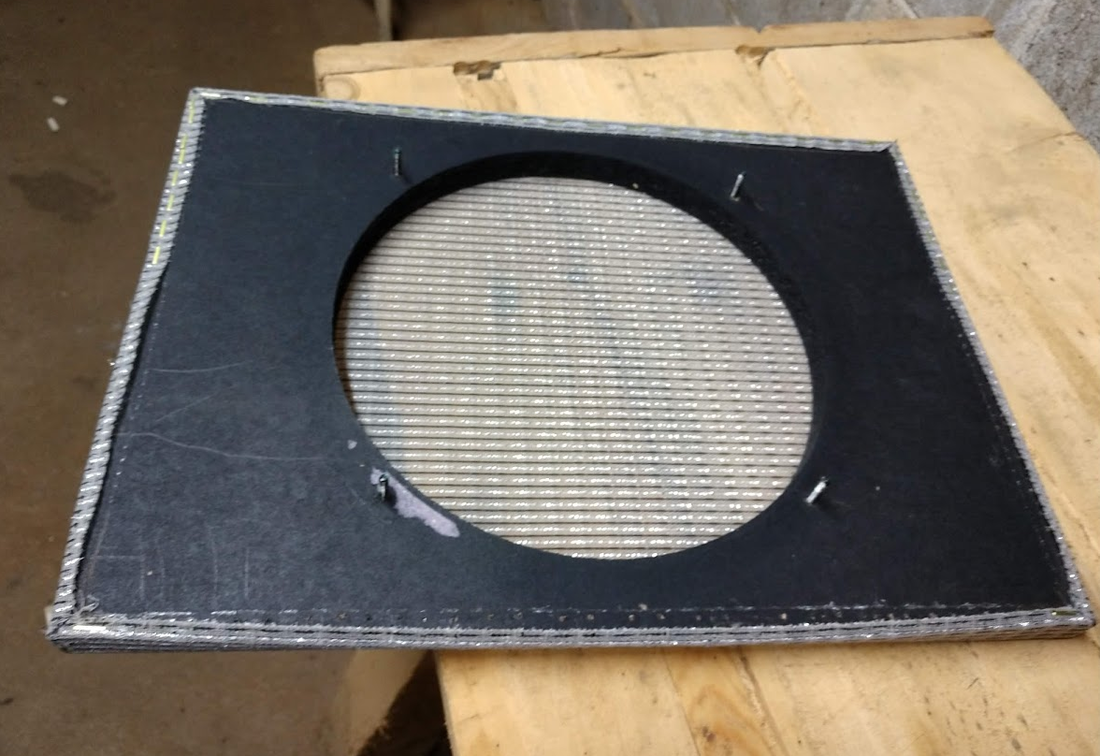
I cut about a 1 inch strip off the bottom of the baffle, and then removed another 4-5 inches. That way I could glue / screw the flat piece back on , and have a nice square piece to fit back in the lip of the cabinet, and have something to staple the grill cloth too.

I left the cuts a little long so I could do some sanding to get an exact final fit....sand / test fit.....sand / test fit.....for half an hour or so....
....until eventually, I had a nice little even gap all the way across the top of the baffle. Conveniently, with the baffle set in place, the screw holes on the top of the cabinet lined up almost perfectly in a position to help secure the baffle in place.....just needed to get a couple longer screws (for the pic I just used a small drill bit). The screws that originally held the metal tray in place are just a little short....those two top screws may be all I need to snug it down, the baffle sits in place pretty nicely.
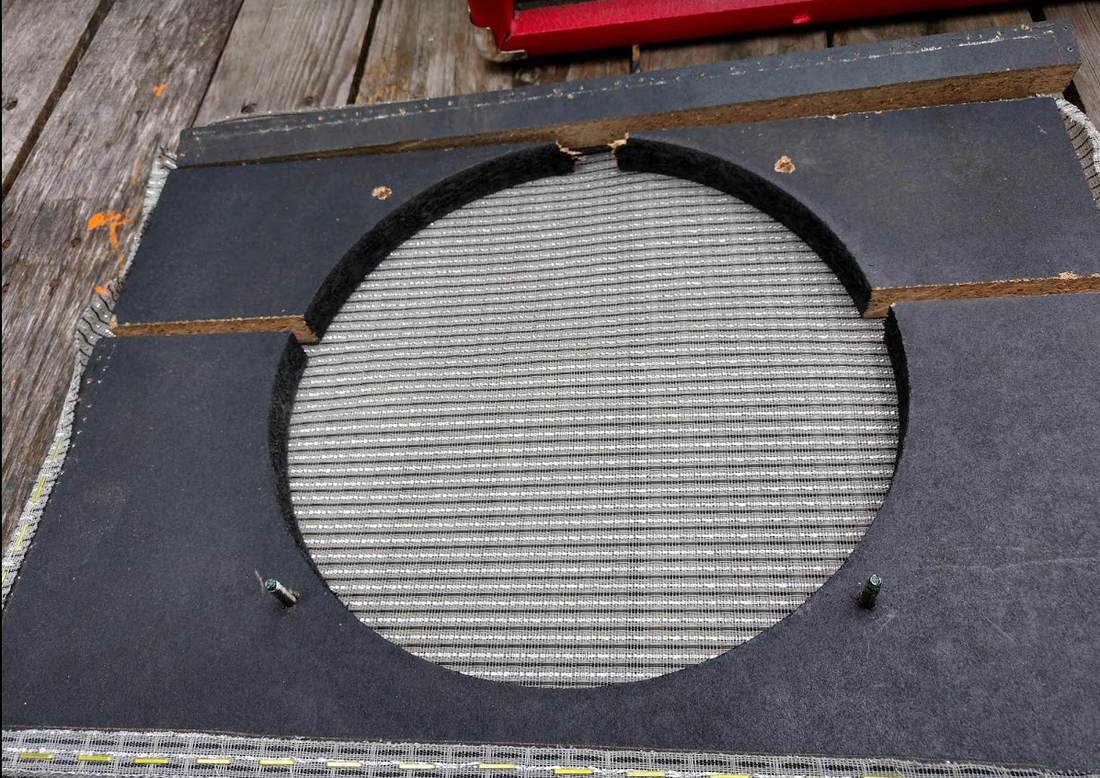
After I had the front grill pretty much the way I wanted it... I figured I'd better do a test fit of the reverb tank. I intend to hang the actual reverb tank on the back of the front panel.
Good thing I checked before I glued / stapled everything back together.
Good thing I checked before I glued / stapled everything back together.
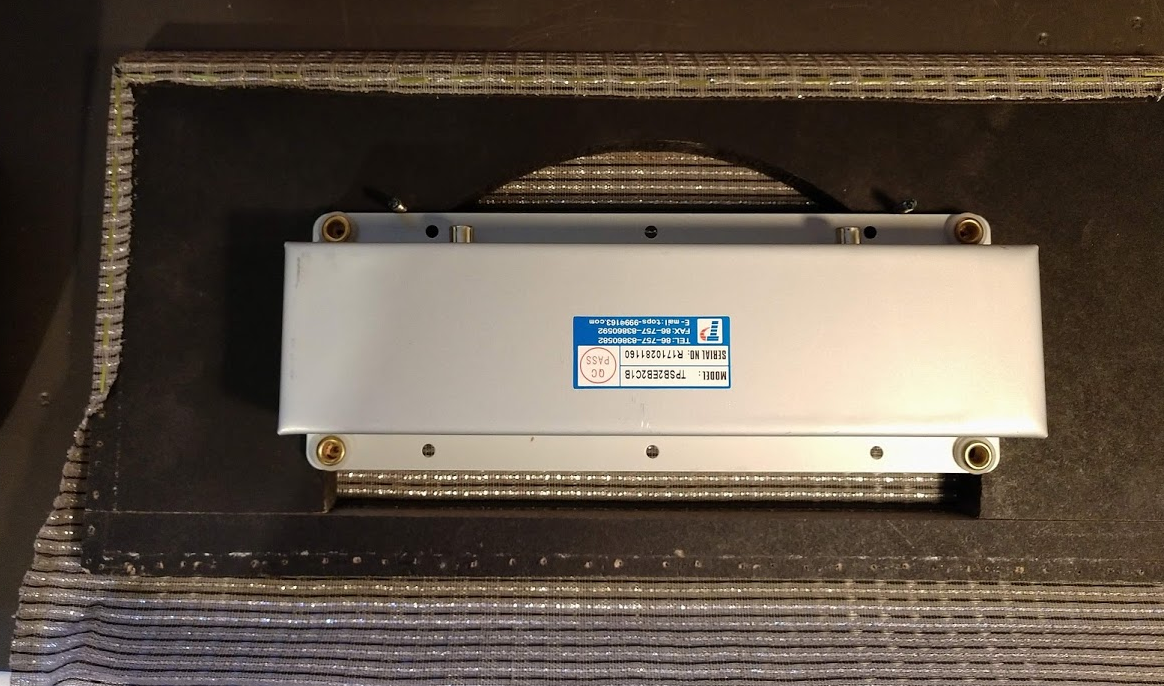
Not the tank I intend on using...but it's a standard 9.25 inch tank..so the mounting holes should line up.
Top screws are no problem.....but the bottom holes are not lining up with anything for the screws to sink into. Looks like I need to do some more cutting and sanding. 'Gonna have to add a couple pieces in the corners, not very much...but enough for the screws to have something to bite into.
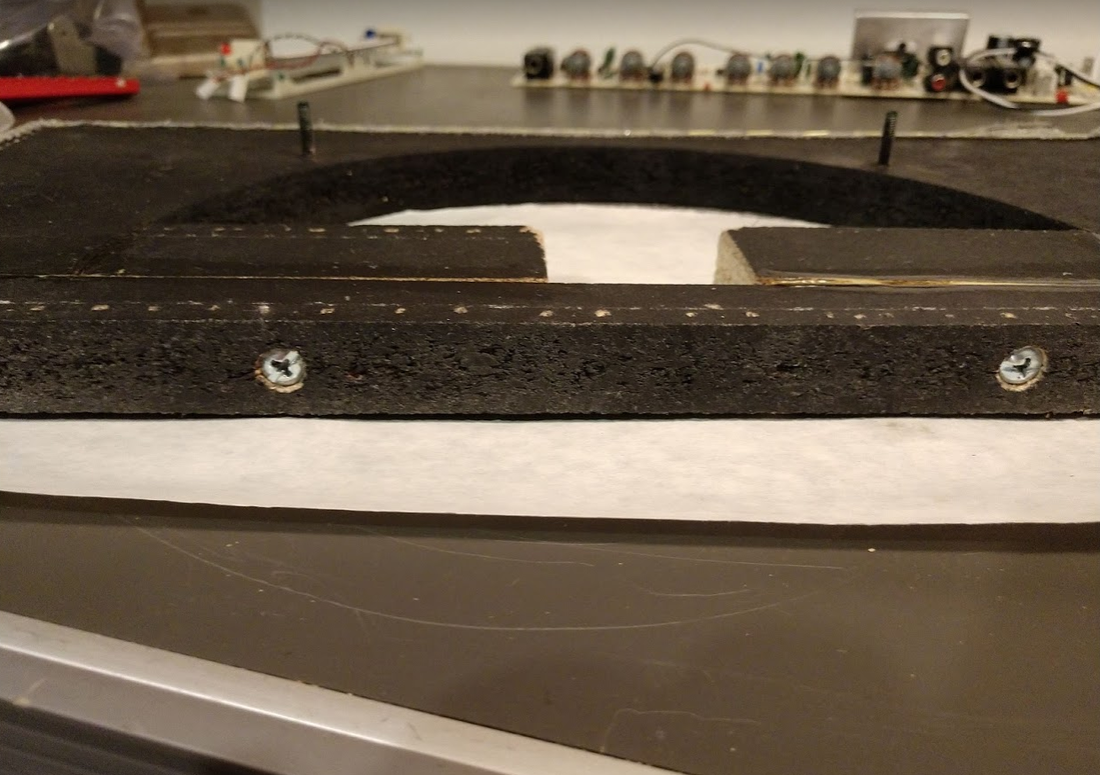
Cut a couple blocks out of the left over scrap.....sanded, screwed, and glued...that should do the trick...
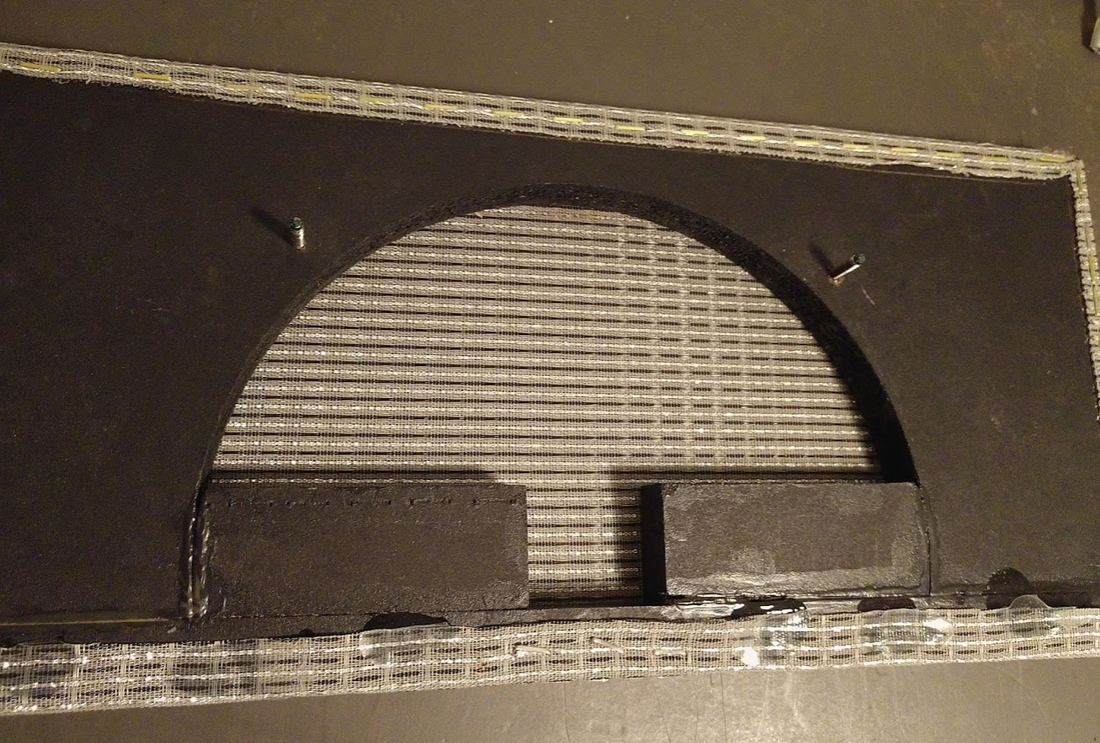
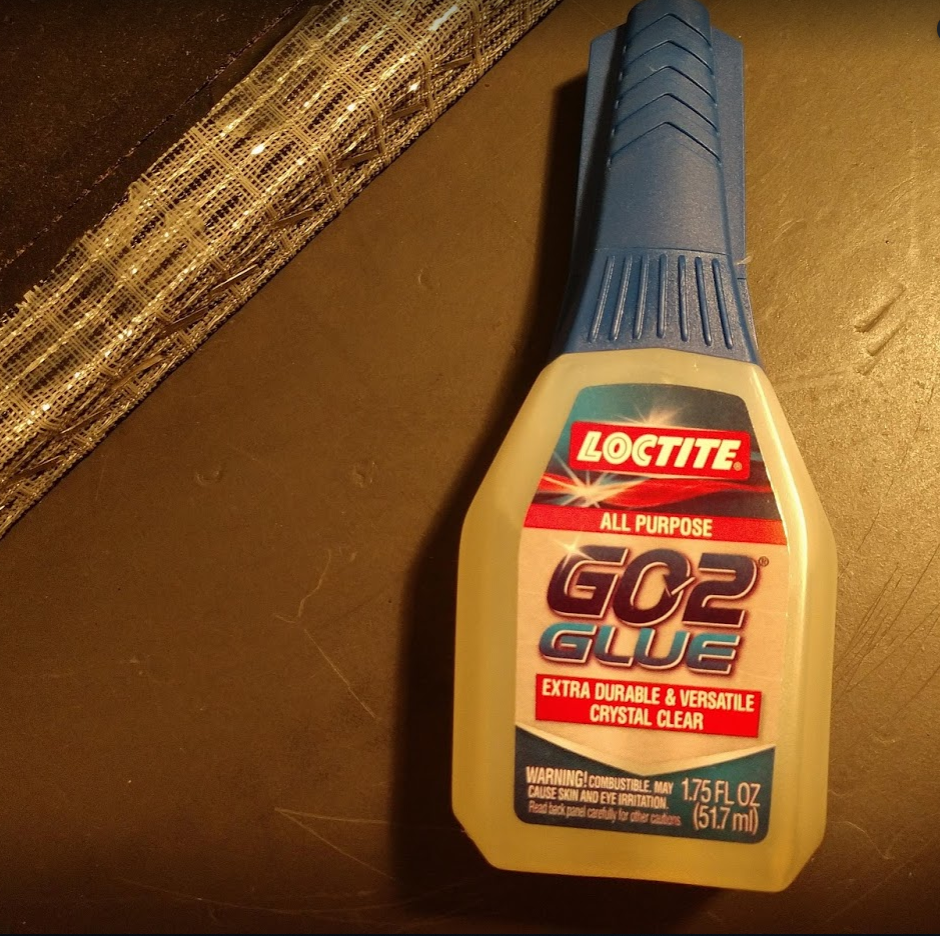
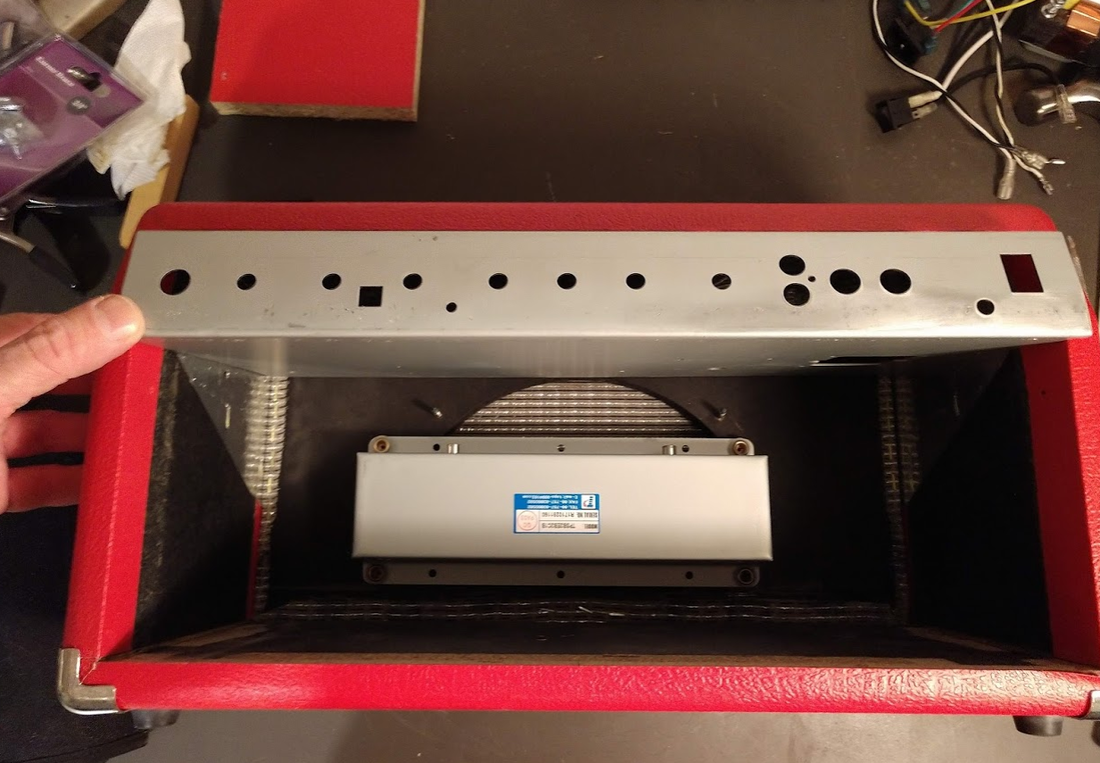
Painted the blocks, and anything not black on the front baffle...the stapled down the grill-cloth. Used some Go2 glue to hold down the edges, and it dropped right in the front of the cabinet. no problems. I put a couple longer screws through he top of the cabinet to hold the baffle and grill-cloth in place. Between it sitting in the lip and those two screws....it's pretty sold. The last picture show the approximate mounting of the reverb tank, and the rough placement of the chassis.
Now that the front is pretty much finished, I can take some measurements and get the chassis cut to the right depth.
Now that the front is pretty much finished, I can take some measurements and get the chassis cut to the right depth.
